
Green glass from empty wine bottles, typically recycled, can be repurposed for holiday decor. Rather than using the bottle for flowers or wrapping lights around it, cutting off the top creates a short vessel suitable for holding candle wax.
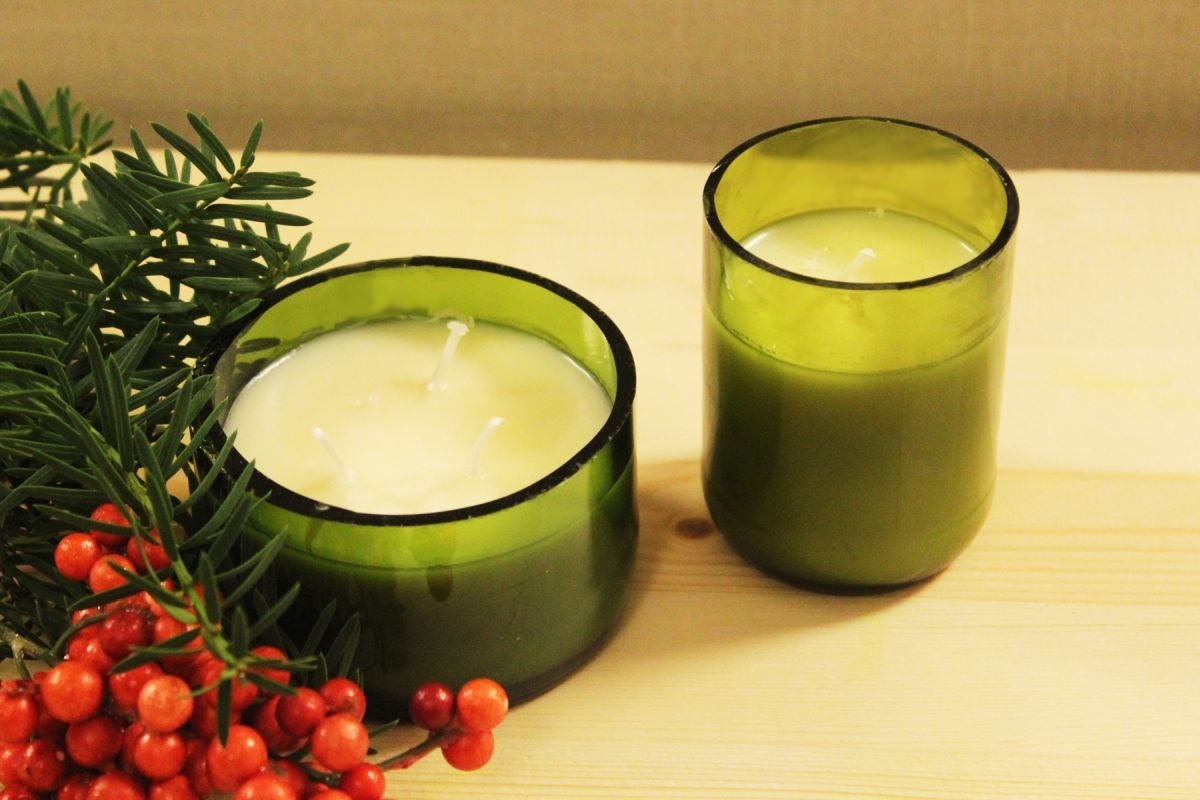
Homedit DIY creator Brittney Smart crafted two distinct candles using green glass bottles, soy wax flakes, wicks, and fragrance. One candle features a wide base with three wicks, while the other is a taller vessel containing a single wick.
The process requires cutting the glass, securing the wicks, melting the wax, and pouring it into the prepared containers. A key consideration is that standard wine bottles are not certified to withstand candle heat, posing a risk of cracking or breaking during use.
Mark the Glass Bottle Before Cutting
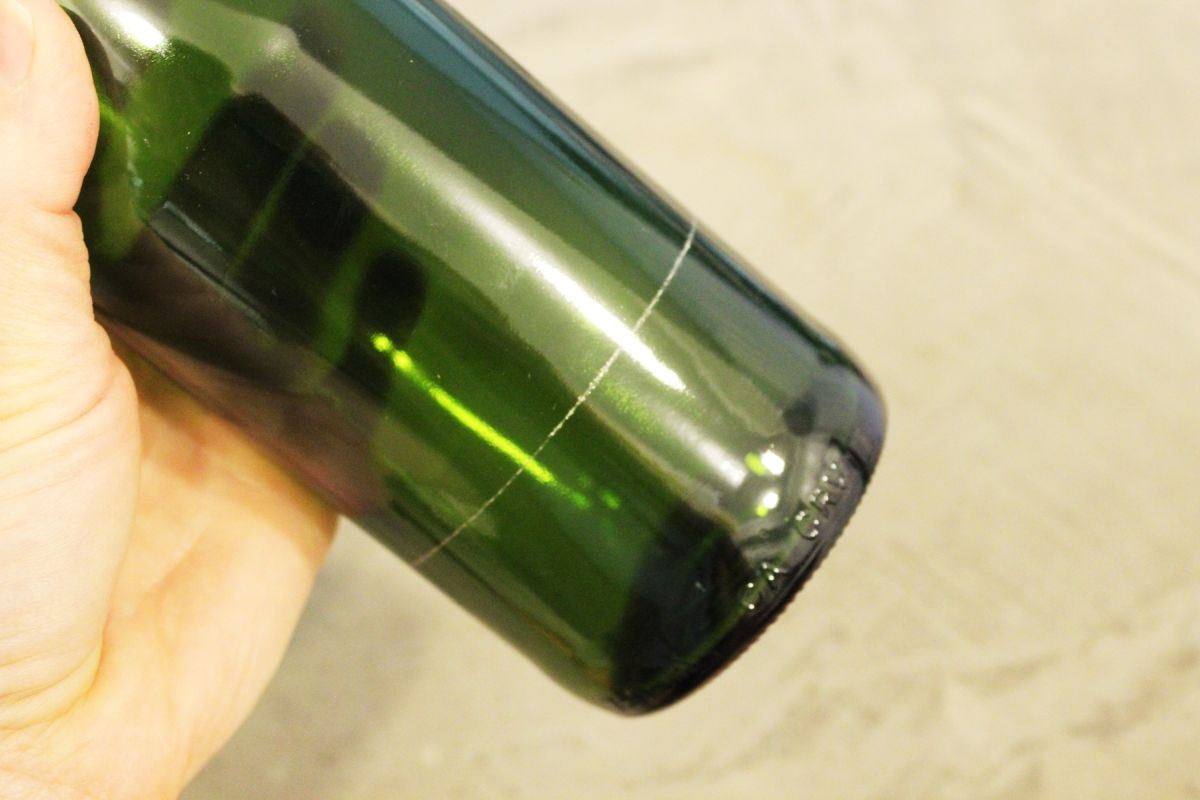
A score line encircles the lower part of the green glass bottle, indicating where the top will separate from the base. The height of the final container is determined by the section below this line.
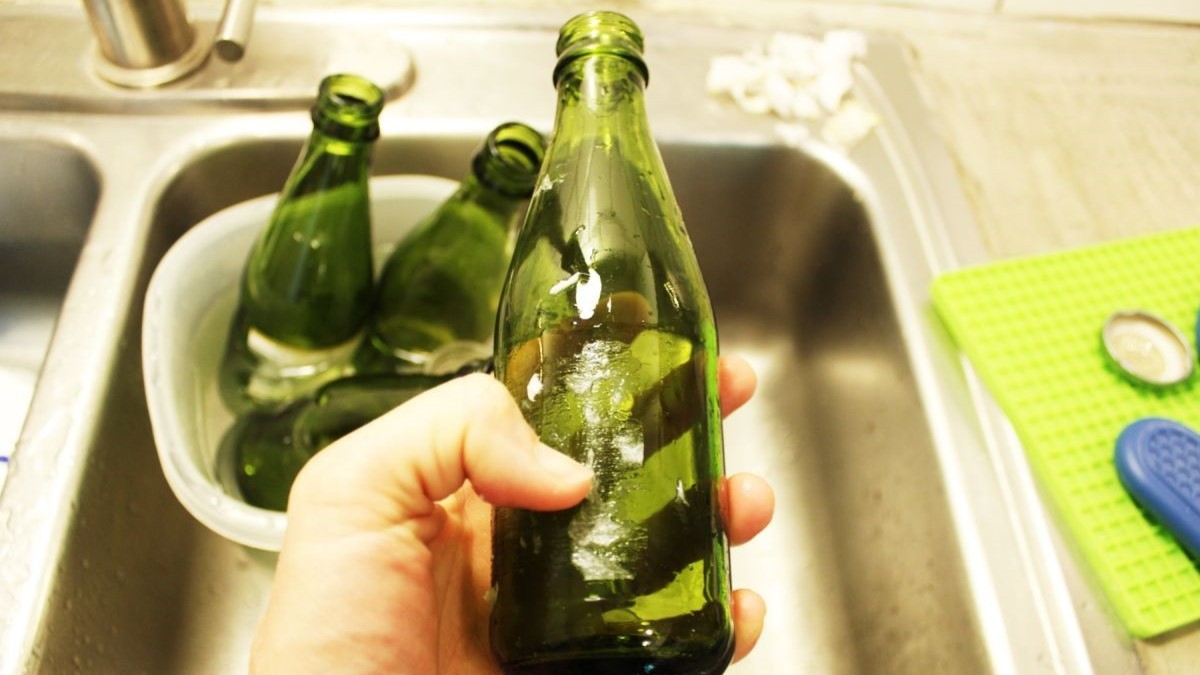
Smart utilized recycled glass bottles for the project, employing various shapes to create candle vessels with different widths and heights.
Cutting glass can result in sharp edges and fractures. Proper tools and eye protection are essential, and cut edges must be smoothed. Even after cutting, the glass cannot be assumed safe for a burning candle.
Attach the Candle Wicks to the Base
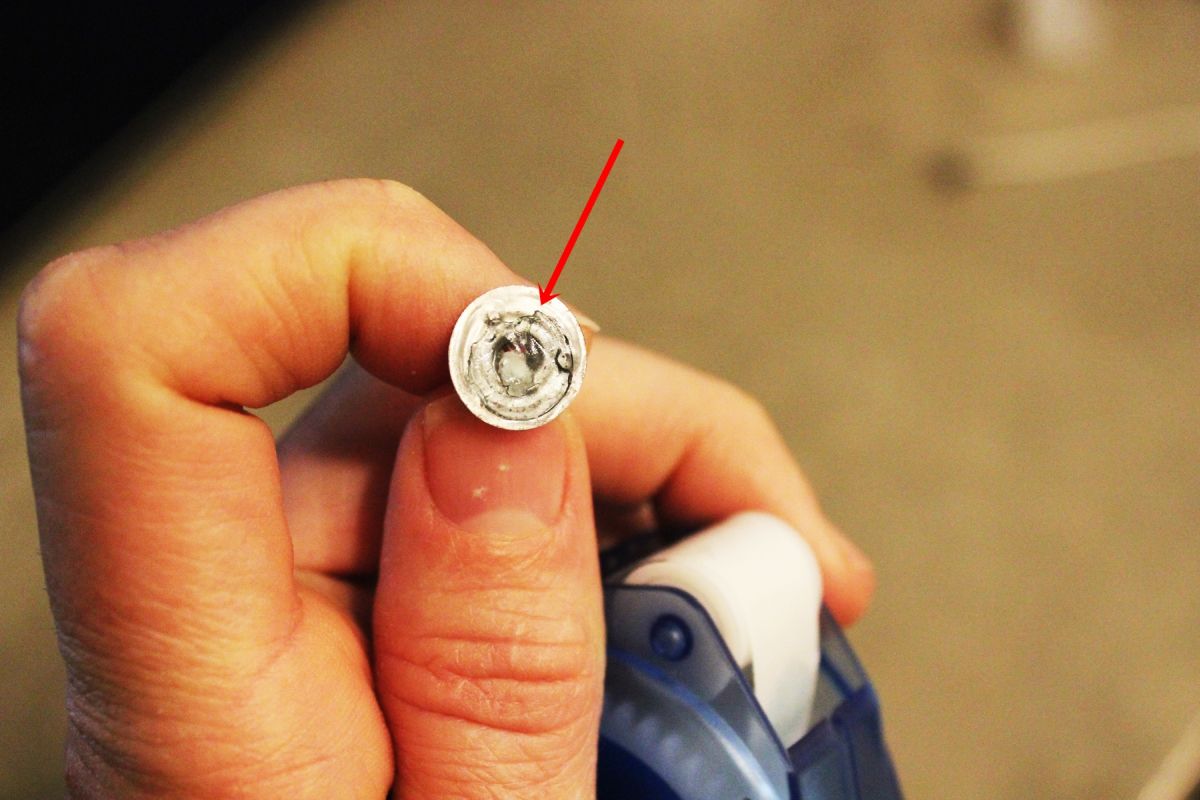
Candle wicks feature small metal tabs at the bottom to anchor them in the container. Smart used adhesive dots to secure the tabs but noted that some loosened when hot wax was added.
Hot glue served as her preferred alternative for securing wick tabs. For a candle-safe vessel, use wick stickers or adhesive rated for candle making, and verify that the tabs remain attached before pouring wax.
Keep the Wicks Upright With Bamboo Skewers
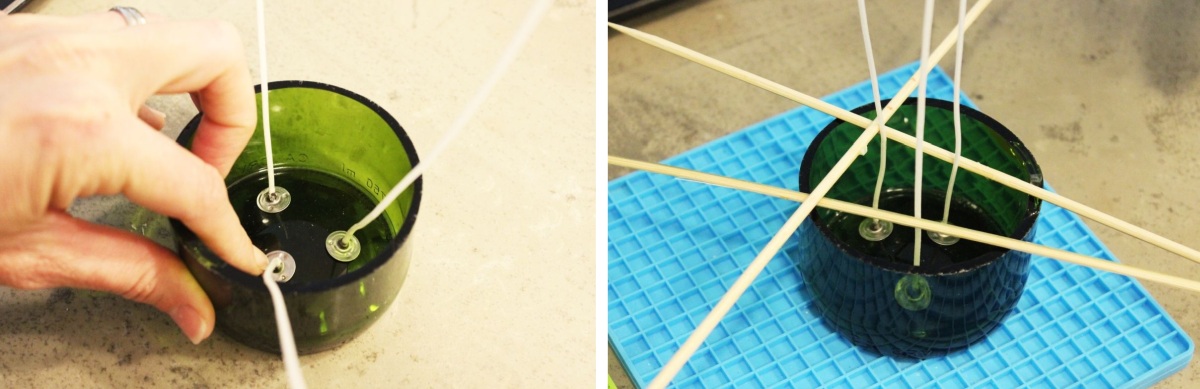
Three wicks are placed inside the wider green glass base, with bamboo skewers crossing above the opening to hold them in place. The narrower vessel requires fewer wicks due to its smaller opening.
Center each wick and support it from opposite sides using skewers or a wick-centering bar. This support prevents the cotton strands from shifting during pouring and as the wax cools.
The appropriate number and size of wicks depend on the candle vessel’s diameter, the type of wax, and the wick manufacturer’s guidance.
Melt Soy Wax Flakes in a Double Boiler
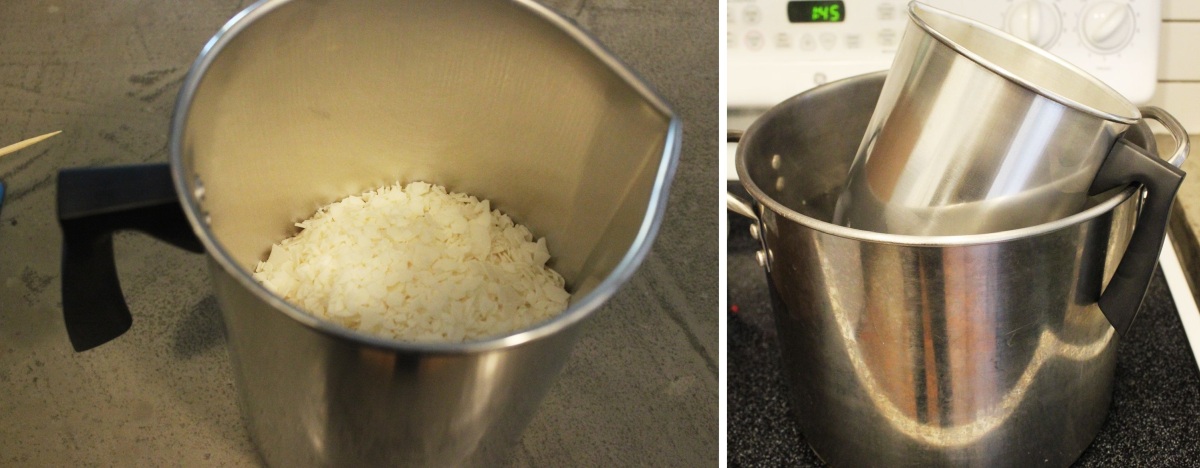
Soy wax flakes are placed in a metal candle-making pitcher, which sits inside a pot of hot water. This method heats the pitcher without exposing the wax to direct heat.
Smart used approximately twice the volume of flakes as the intended volume of melted wax to account for the space between the flakes before melting.
Use a thermometer to monitor wax temperature and follow the manufacturer’s melting and pouring instructions. Keep water out of the wax and never leave the heating setup unattended.
Add Fragrance to the Melted Wax
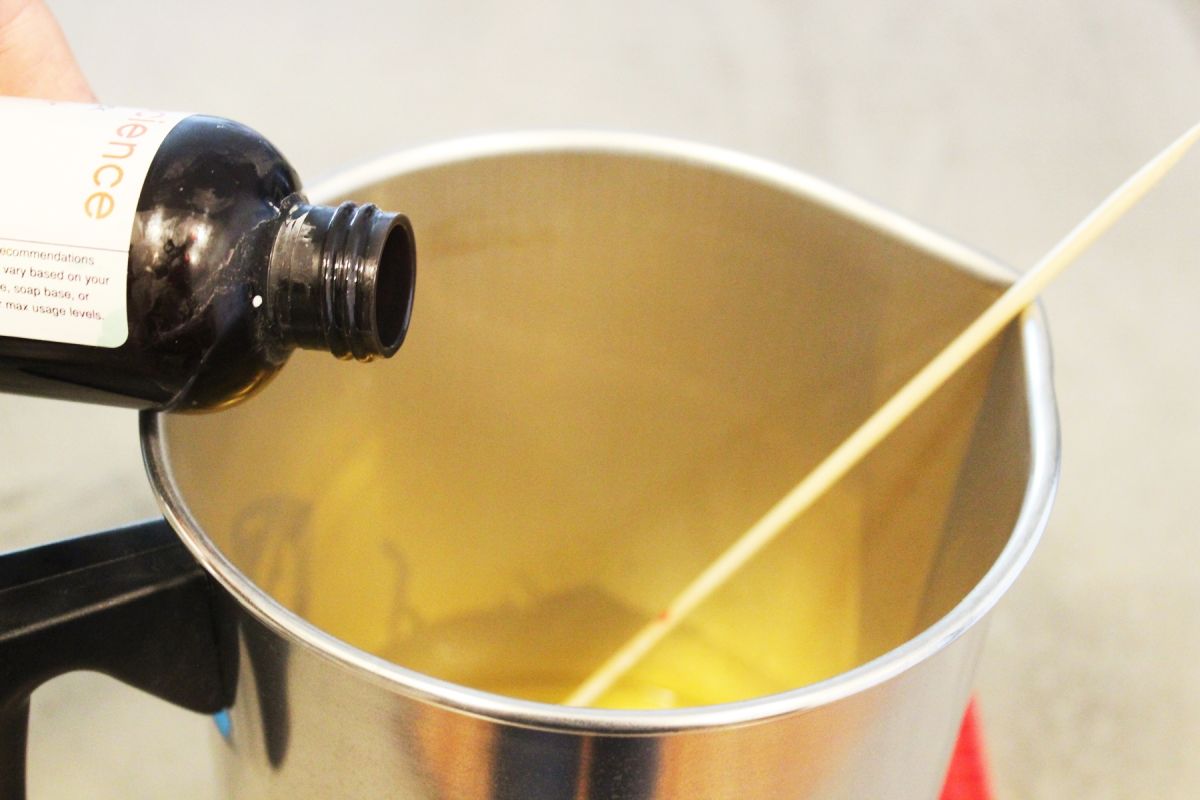
Once the soy wax has melted, remove the pitcher from the water bath and let it cool to the temperature recommended for adding fragrance.
Smart used approximately 1 ounce of candle fragrance per 2 pounds of wax, stirring the mixture for around 30 seconds. The exact amount should remain within the limits recommended by the wax and fragrance manufacturers.
Fragrance oils designed for candle making are preferable to perfumes or products with unknown ingredients. Not all essential oils burn well, and some are unsuitable for this purpose.
Pour the Wax Around the Supported Wicks
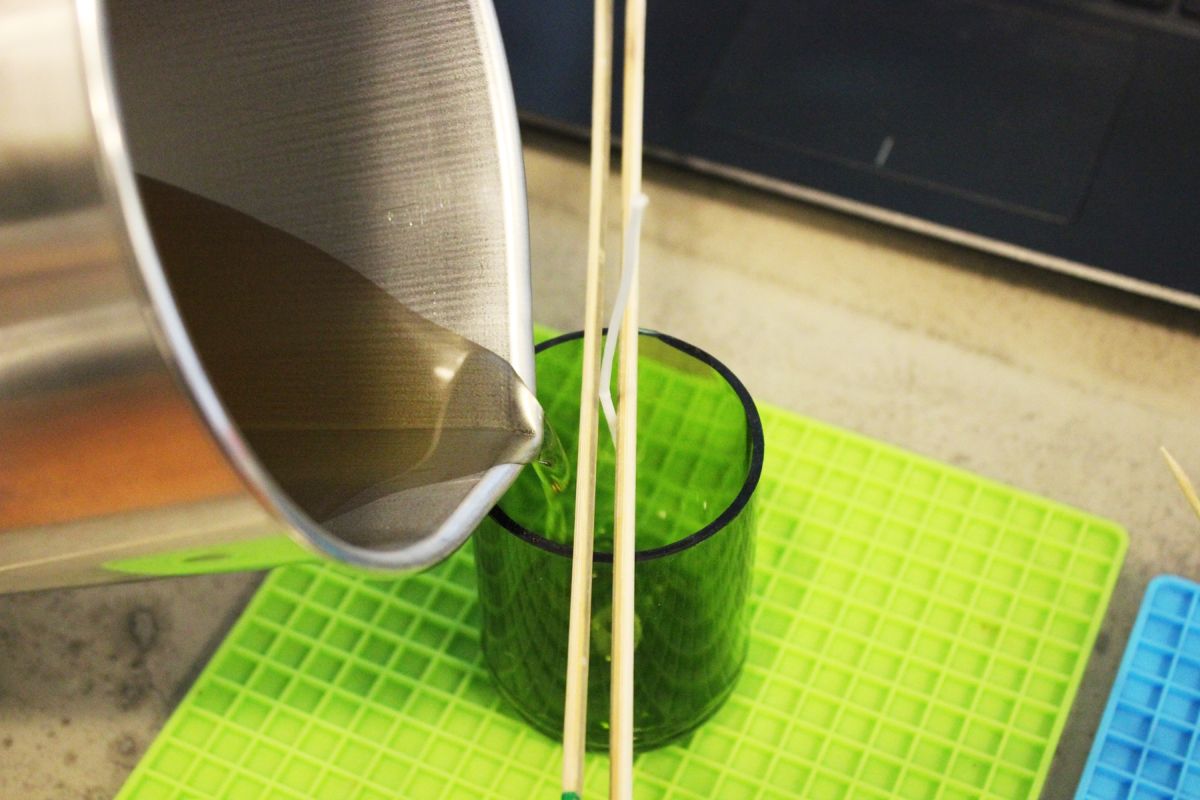
Melted wax is poured into the prepared green glass base while bamboo skewers hold the wicks upright. Pouring into the space beside the wicks, rather than directly onto the tabs, reduces the risk of dislodging them.
For those recreating the project, a manufacturer-approved candle container is the safer option. Green glass rated for candles offers the same aesthetic without relying on a cut wine bottle.
Leave adequate space between the wax surface and the container rim as specified by the candle vessel’s manufacturer.
Adjust the Wicks Before the Wax Sets
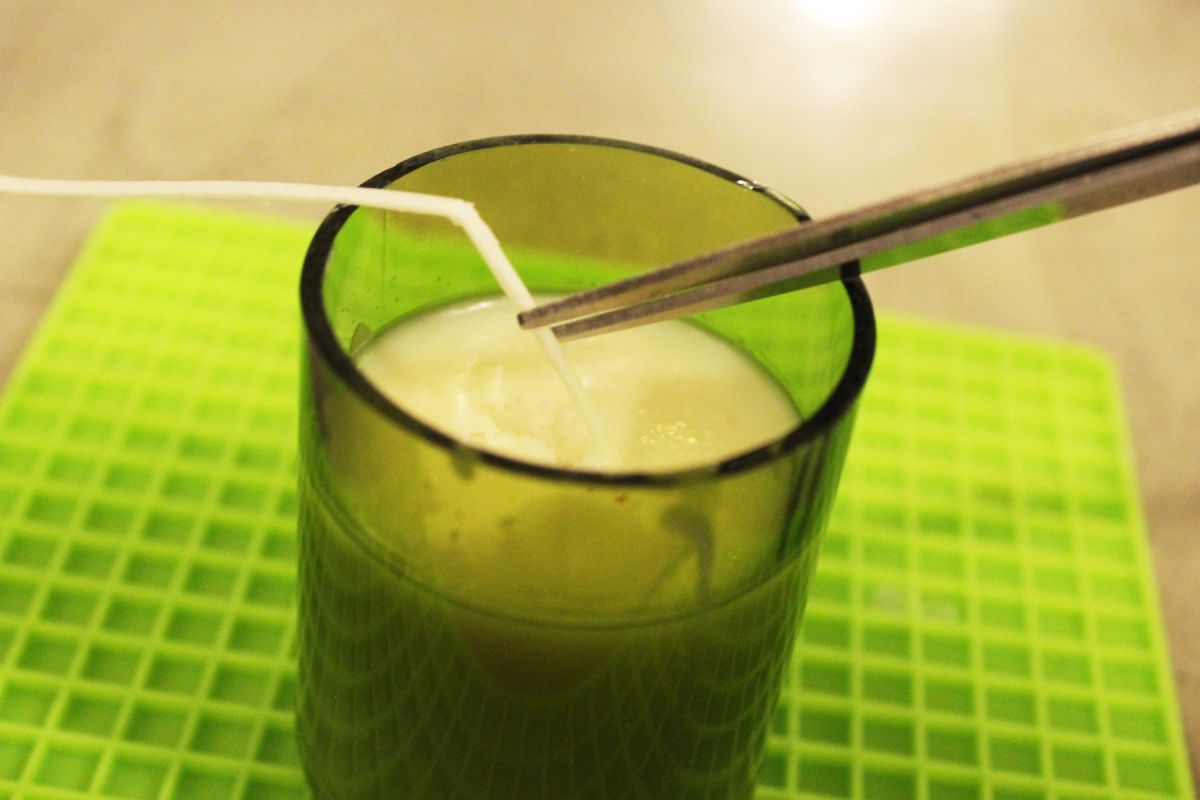
While the wax is still liquid, check that each wick stands upright and remains in its intended position. A photograph shows a wick being adjusted with a metal tool as the white soy wax begins to cool.
Smart allowed the candles to set for at least six hours, suggesting an overnight rest before trimming the wicks. Follow the wax manufacturer’s curing guidance before burning, as the required time may extend beyond when the surface feels solid.
Trim the wicks to around ¼ inch before lighting, rather than leaving long cotton ends above the wax.
Two Green Glass Containers Produce Different Candles
The finished candles feature white wax inside green glass, with three wicks in the low, wide vessel and one wick in the taller container.
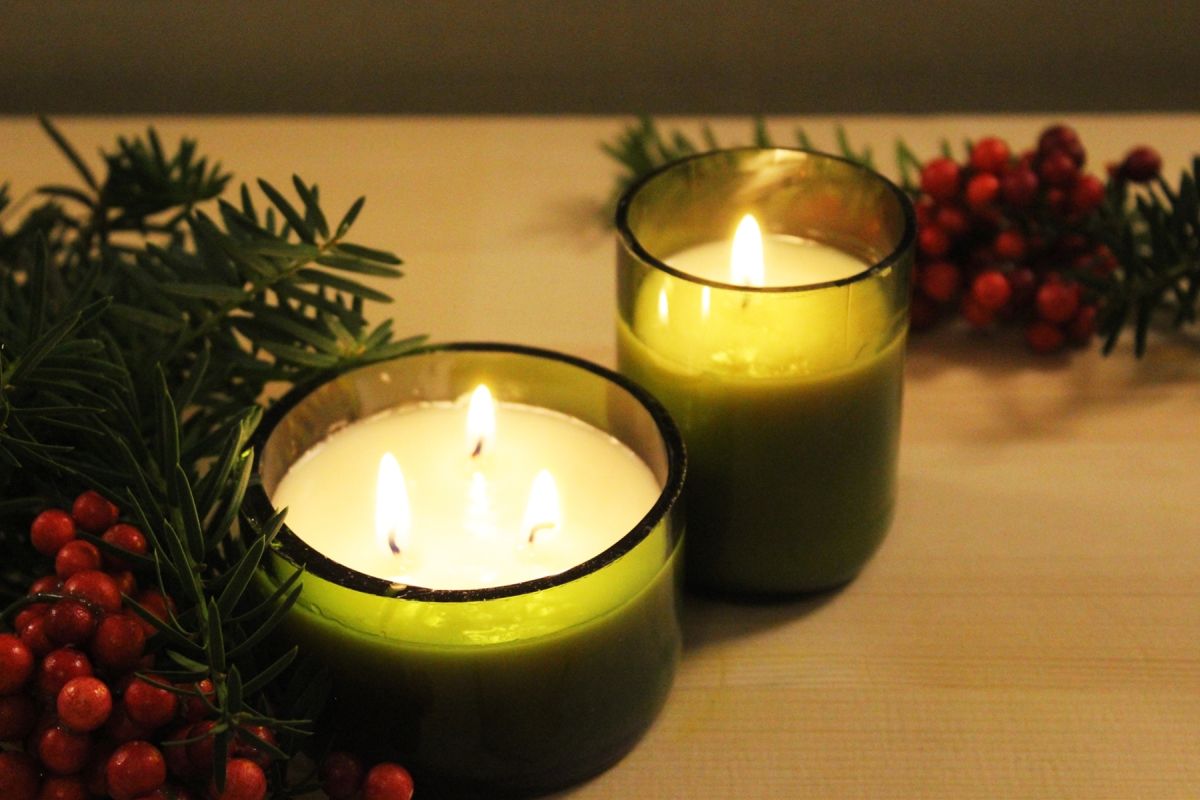
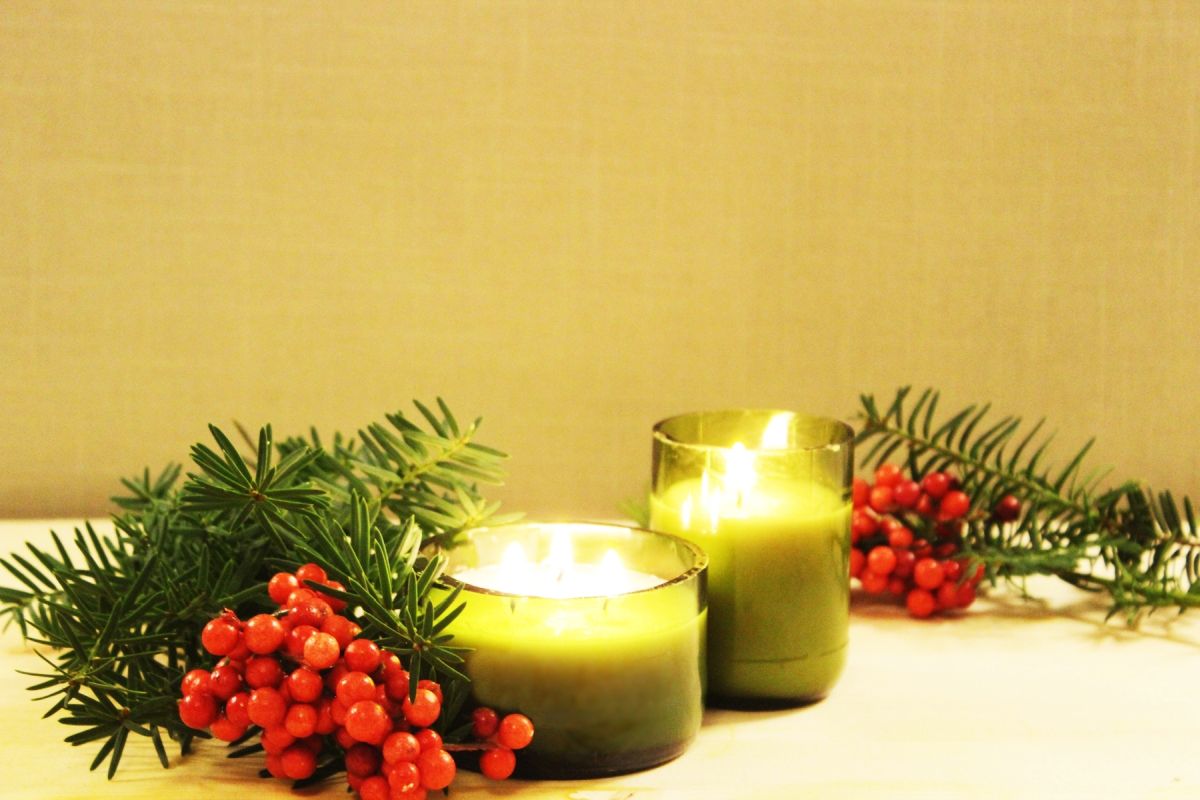
Smart photographed the candles beside evergreen branches and red berries, using the green glass to complement the Christmas color scheme. Neither container required exterior paint or decorative wrapping.
For display without a flame, the same visual effect can be achieved by placing a candle-shaped LED insert inside a smooth-edged glass vessel.
The Finished Candles Create a Christmas Table Display
With the wicks lit, the wider candle produces three flames while the taller version has one. The green glass appears brighter near the top, where the flames illuminate the vessel from within.
The original project demonstrates the appearance of candles made from recycled bottles, but the photographs cannot confirm that the glass withstands repeated heating. Ordinary bottle glass may fracture from heat stress, making a candle-rated container the better choice for a burning candle.
Which Scents Work for Homemade Christmas Candles?
For a Christmas-inspired candle, the fragrance can be selected to complement the green glass and evergreen decorations. Several candle-safe fragrance profiles suit the season:
Pine and cedarwood: A forest-inspired scent suited to evergreen branches and wreath displays.
Orange and cinnamon: Citrus and spice notes associated with dried orange decorations and holiday baking.
Vanilla and clove: A sweet-spice combination for a dining or living room.
Fir and rosemary: Herbal and evergreen notes for a less sweet candle.
Apple and cinnamon: A fruit-and-spice option reminiscent of baked apples.
Choose fragrance oils formulated for candles rather than adding fresh herbs, citrus peels, cinnamon sticks, or other plant material to the wax. These additions can become fire hazards near a burning wick. Follow the supplier’s fragrance-load limits and test the finished candle in a certified container.
Would you choose pine and cedarwood for a Christmas candle, or orange and cinnamon?
The post She Cut Empty Wine Bottles in Half and Turned the Bottoms Into Christmas Candles appeared first on Homedit.









































Love this creative upcycling idea! Using those green wine bottles for holiday decor feels so much more personal than store-bought candles. Great job, Brittney, on sharing such a unique and eco-friendly DIY project!
Thank you so much! I’m thrilled you love the idea. There’s something special about turning everyday items into festive decor. I hope you enjoy making your own eco-friendly candles this holiday season!