
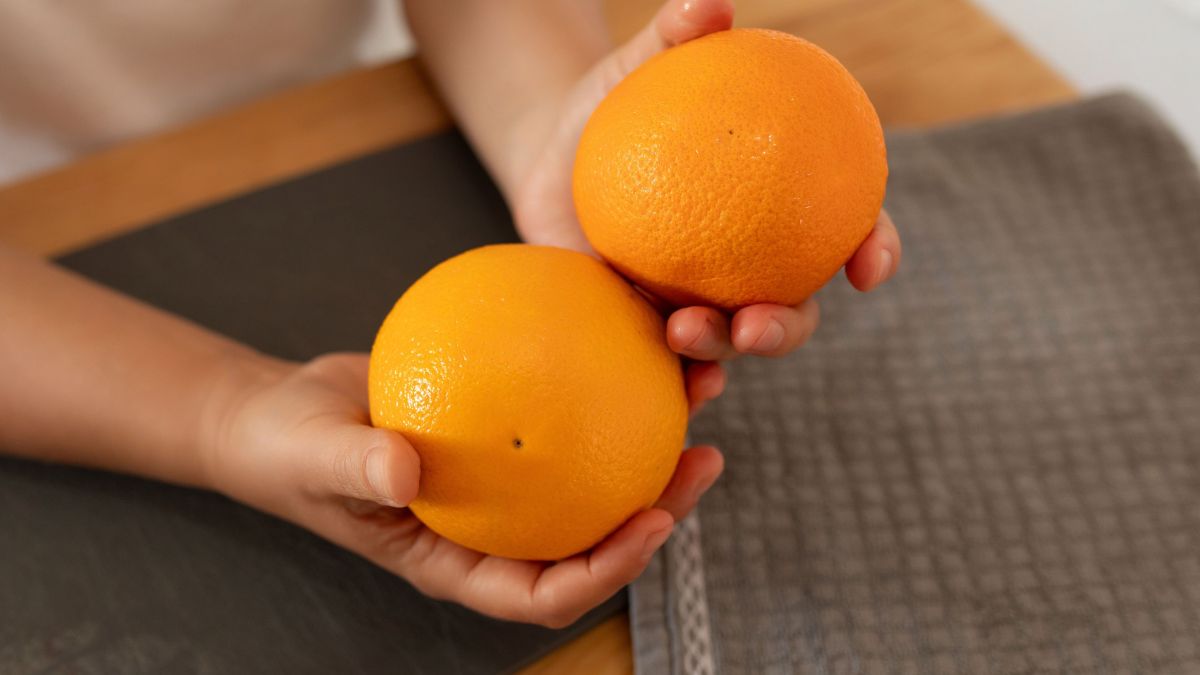
Placing whole oranges in the oven may seem like a culinary technique, but slicing the rind before dehydrating them produces a distinct type of holiday decor. Rather than resulting in flat discs, the citrus retains its spherical form, transforming into an object suitable for suspending from a tree.
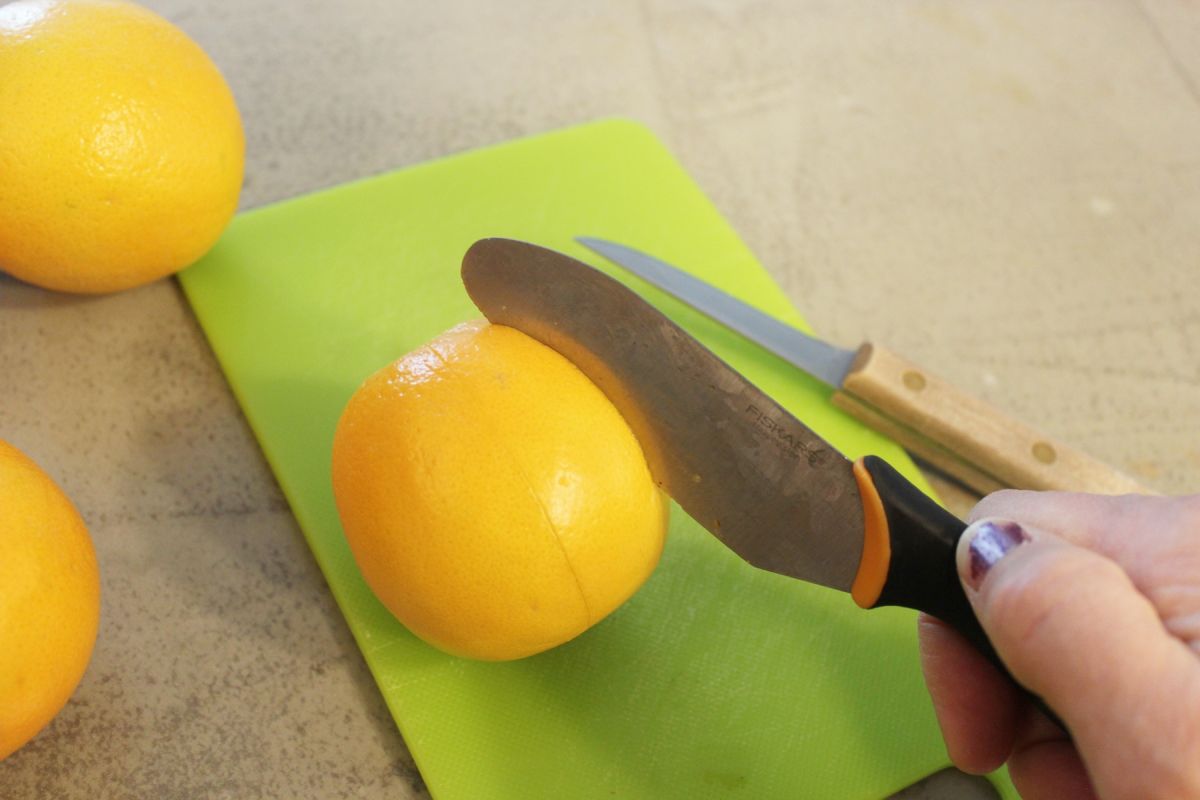
DIY creator Brittney Smart for Homedit employed fresh oranges, a knife, and a low-temperature oven to execute this craft. She incised eight vertical slits into the rind of each orange, ensuring the fruit remained intact as a single unit.
During the drying process, the incisions expand, the rind undergoes a color change, and the fruit sheds a significant portion of its mass. The final product bears little resemblance to the fresh oranges that entered the oven.
Eight Cuts Through the Peel, Not the Fruit
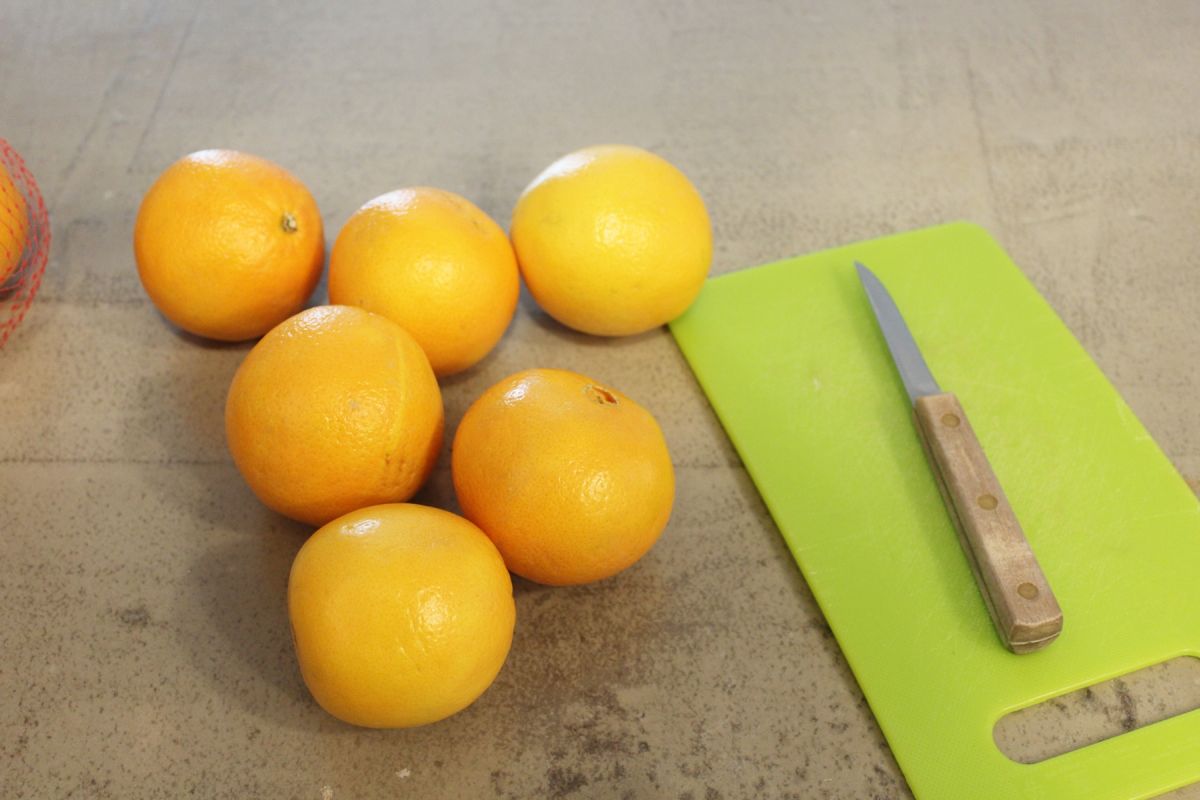
The materials required for this project include fresh oranges, a sharp knife, a baking sheet, and string for suspension. No additional ornaments or molds are necessary.
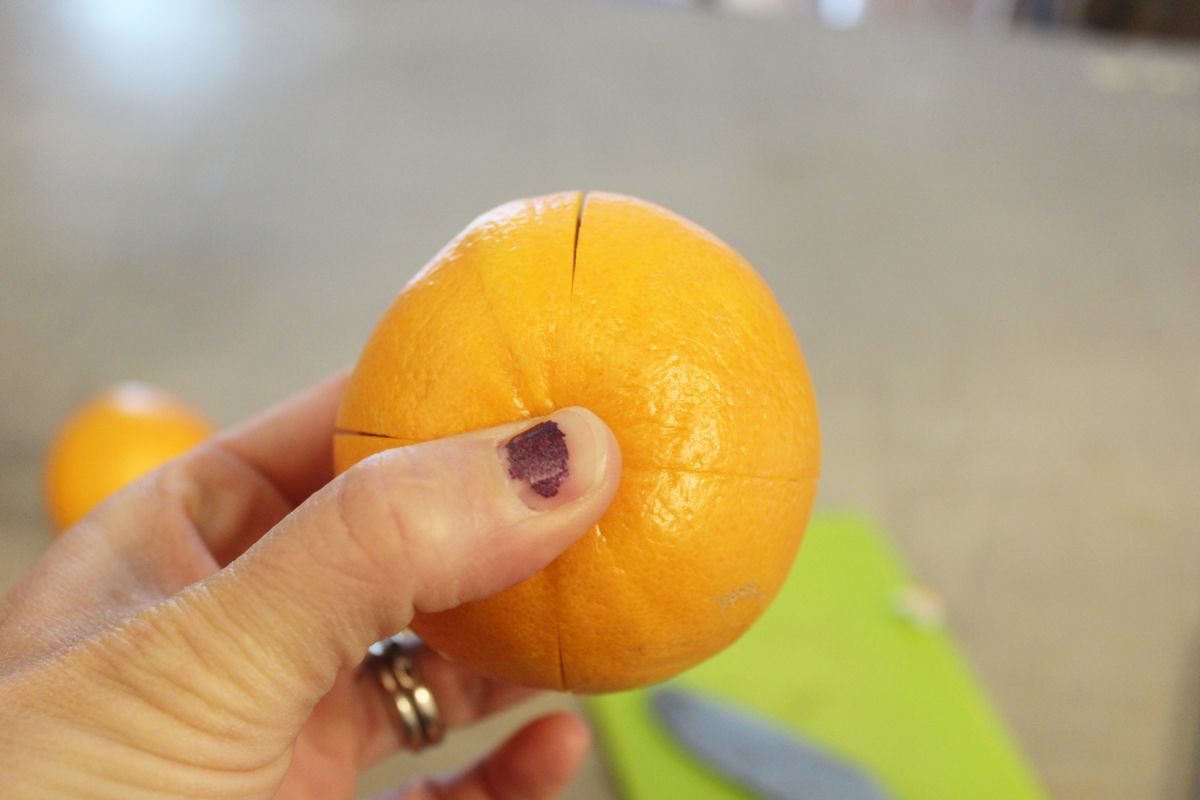
Smart made incisions into the rind, starting near the top of each orange and extending toward the bottom without cutting through either end. The initial cuts partitioned the surface into four distinct sections.
Each of these quarters was then divided by an additional cut, resulting in eight sections encircling the fruit. The rind stayed connected at both the top and bottom poles, maintaining the structural integrity of the orange.
One Fresh Orange Weighed More Than Six Ounces
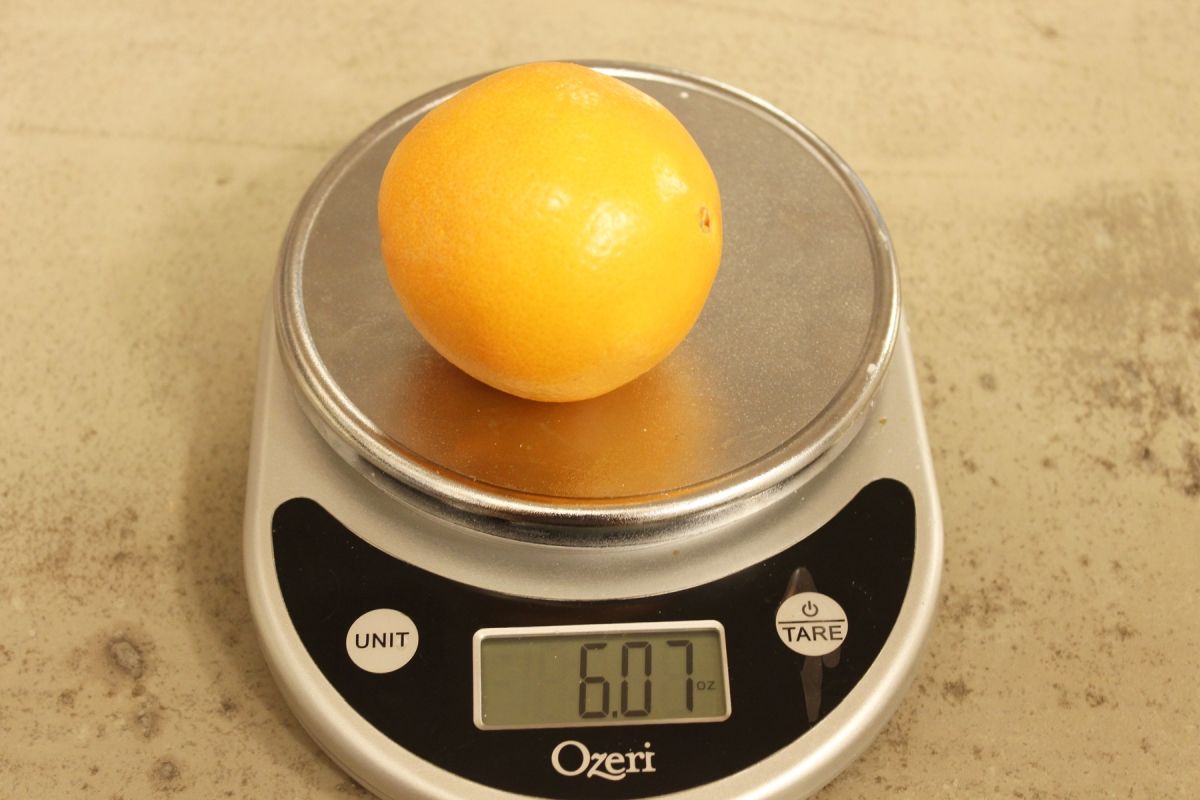
Prior to drying, a single orange had a mass of 6.07 ounces. A substantial portion of this weight was due to the water content within the fruit, which had to evaporate before the orange could be suspended from a Christmas tree.
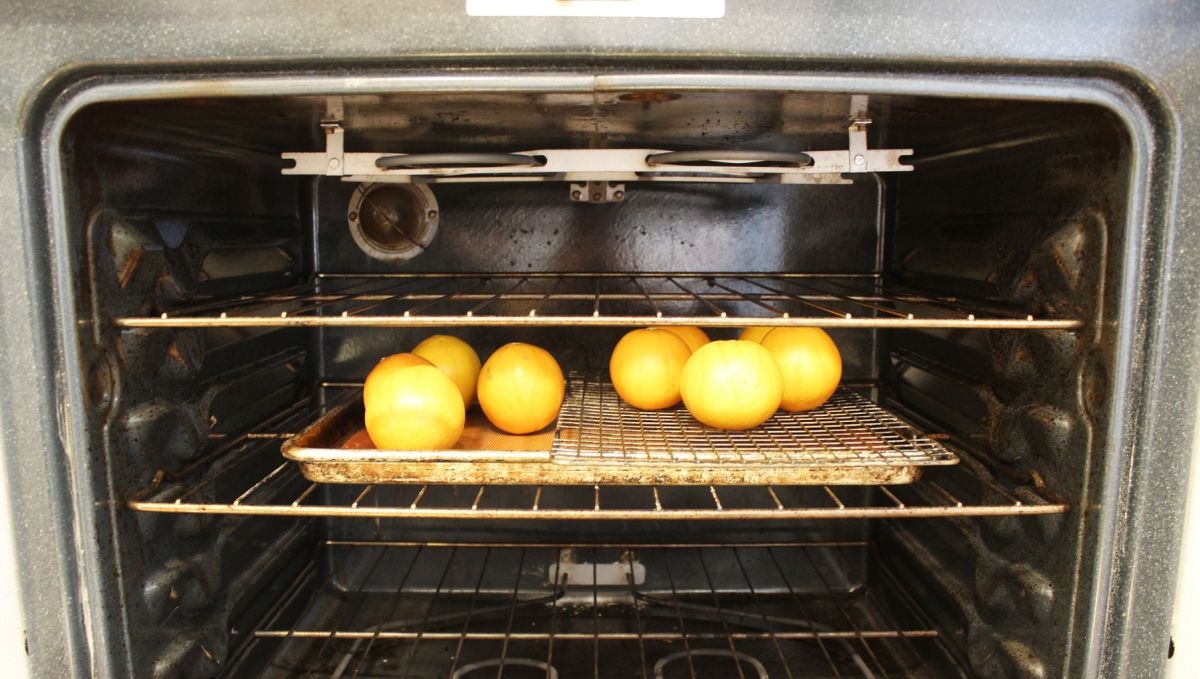
The Oranges Went Into a Low Oven
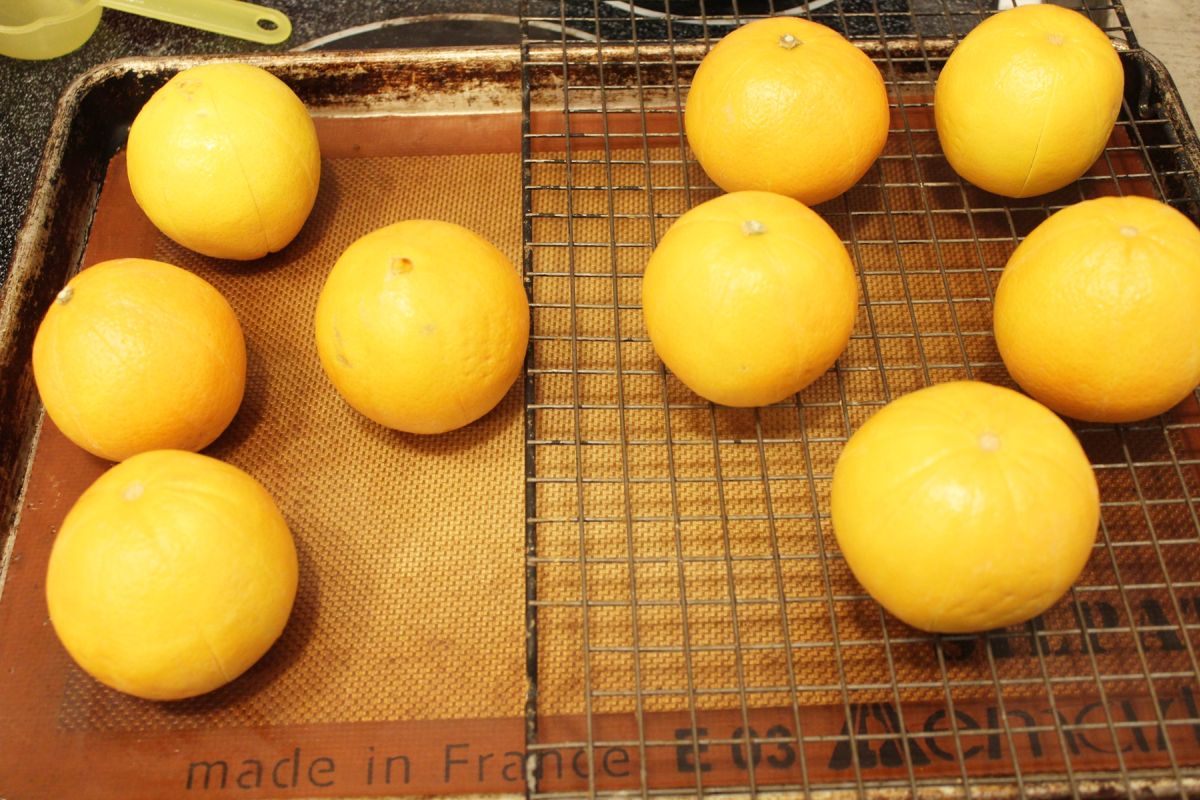
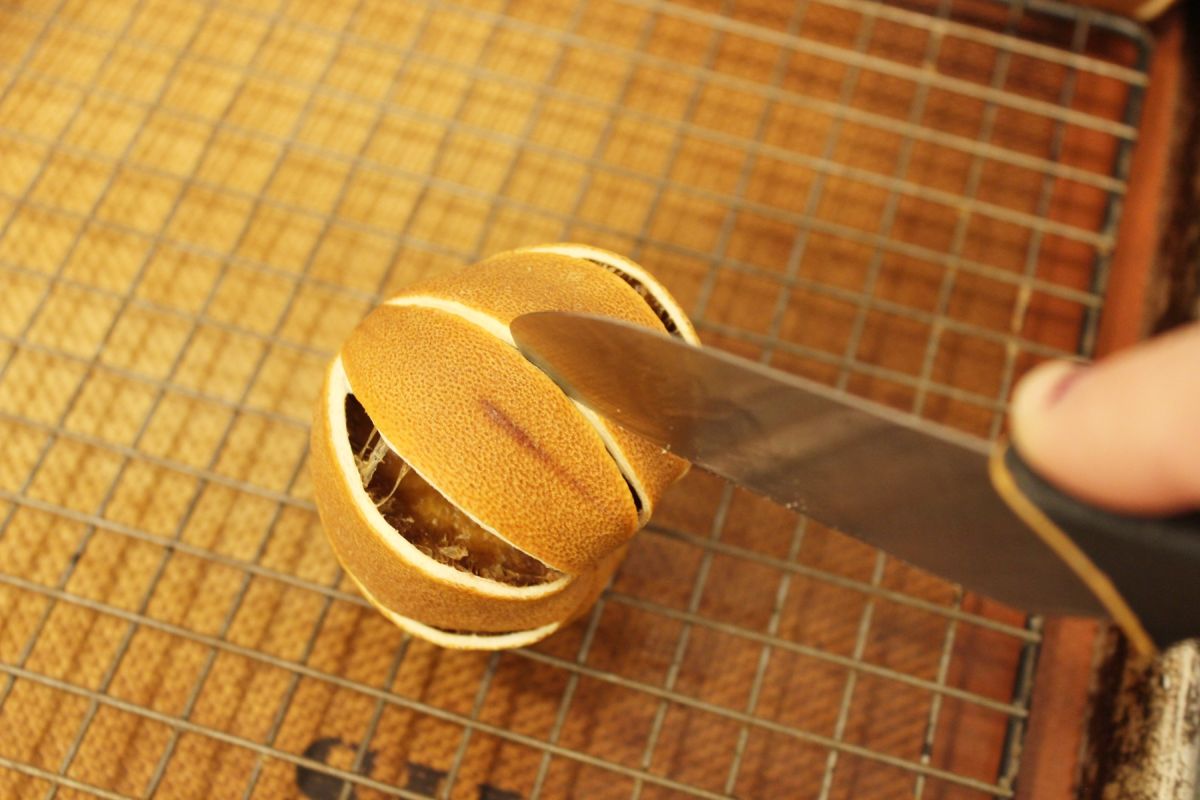
Smart evaluated two different drying surfaces: a silicone baking mat and a metal cooling rack placed over a baking sheet. The oranges were positioned separately, with their cut rinds facing outward.
The oven was maintained at a temperature between 170°F and 190°F. The drying duration ranged from 24 to 48 hours, varying based on the size of the fruit. Both the rack and the baking mat proved effective in her tests.
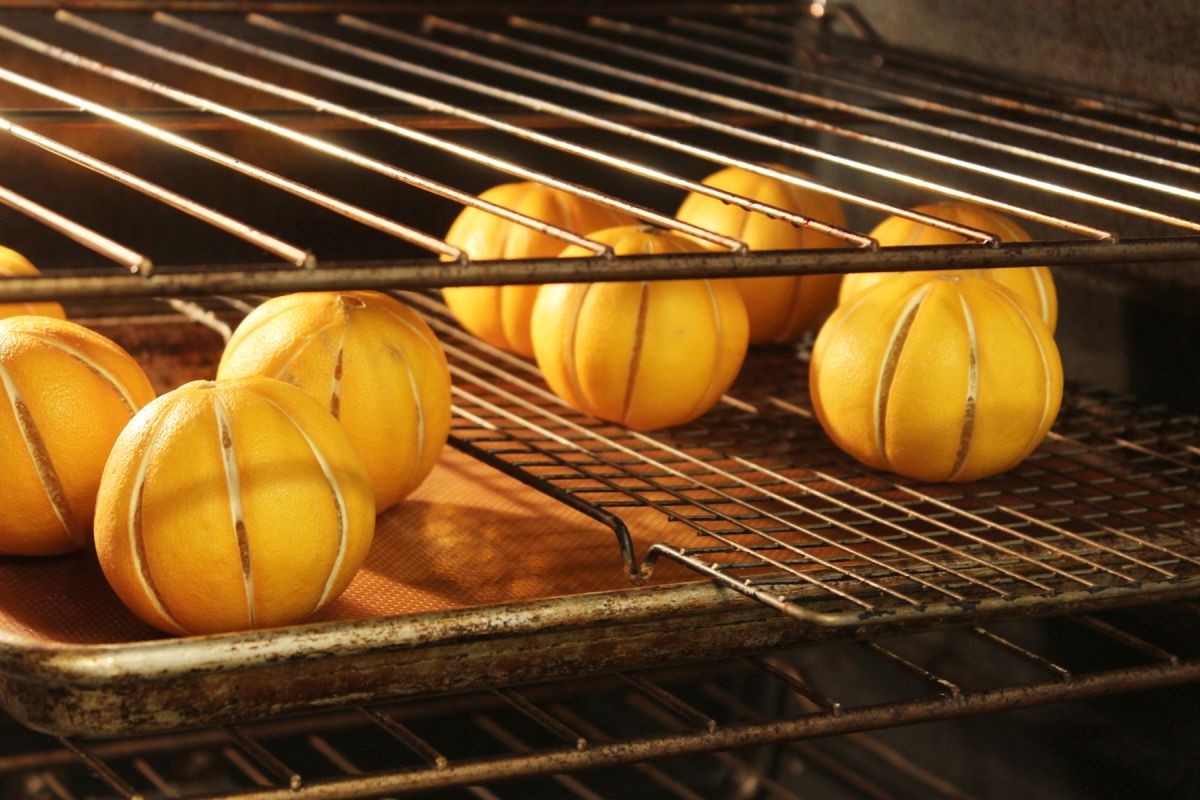
Over the course of several hours, the oranges began to shrink. The initially narrow incisions widened into curved openings, revealing the pale pith and darker pulp situated between the strips of rind.
Smart rotated the fruit during the drying process to ensure different sides were exposed to the heat.
Some Cuts Needed to Go Deeper
Not all slits expanded at the same rate. In areas where the knife had not fully penetrated the rind, the dried surface remained connected.
Smart revisited these sections with her knife, extending the cuts to allow the rind to separate as the fruit continued to lose moisture.
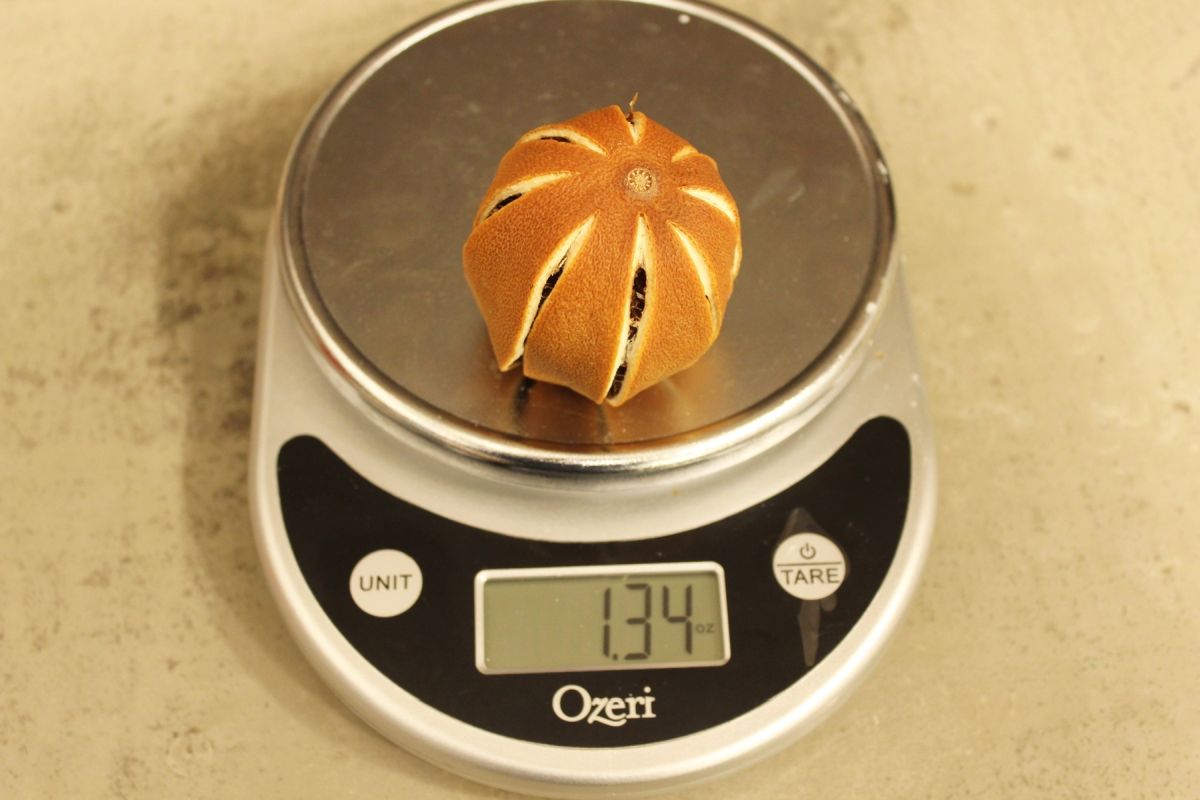
The Orange Lost Almost 78% of Its Weight
The orange that began at 6.07 ounces weighed only 1.34 ounces by the end of the drying process, representing a weight loss of 4.73 ounces.
The rind had darkened to a deep brown-orange hue, with eight narrow strips curving from the top to the bottom. The dried pulp remained inside the fruit rather than being removed.
A Piece of String Turned It Into a Christmas Ornament
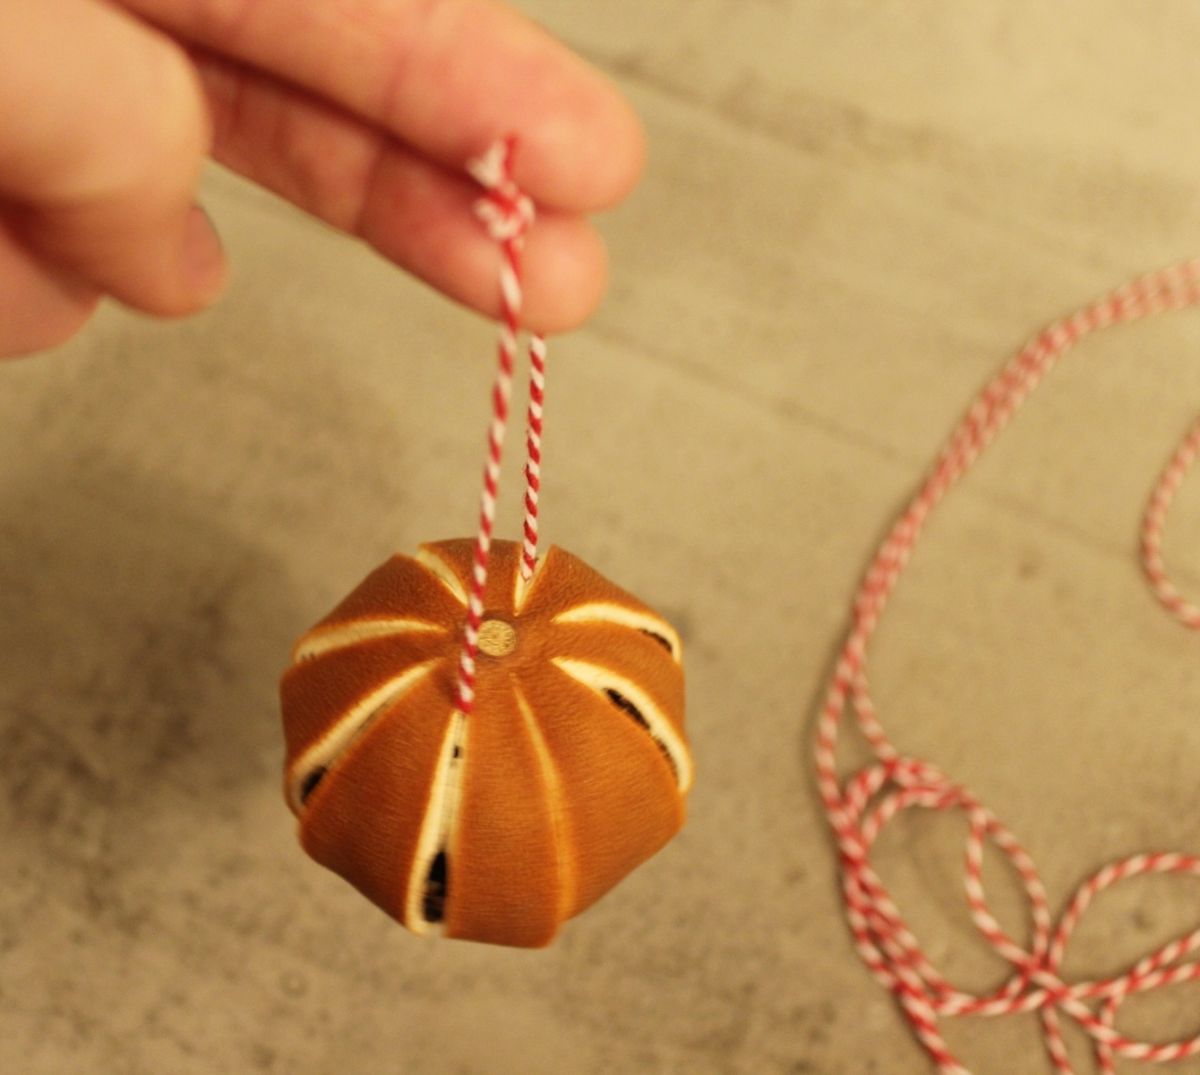
After the orange had dried and cooled, Smart threaded red-and-white baker’s twine through the top using a large needle. The string passed through opposite sides near the stem, creating a loop for hanging.
The original incisions now constituted the design of the ornament, with strips of orange rind separated by pale edges and dark openings.
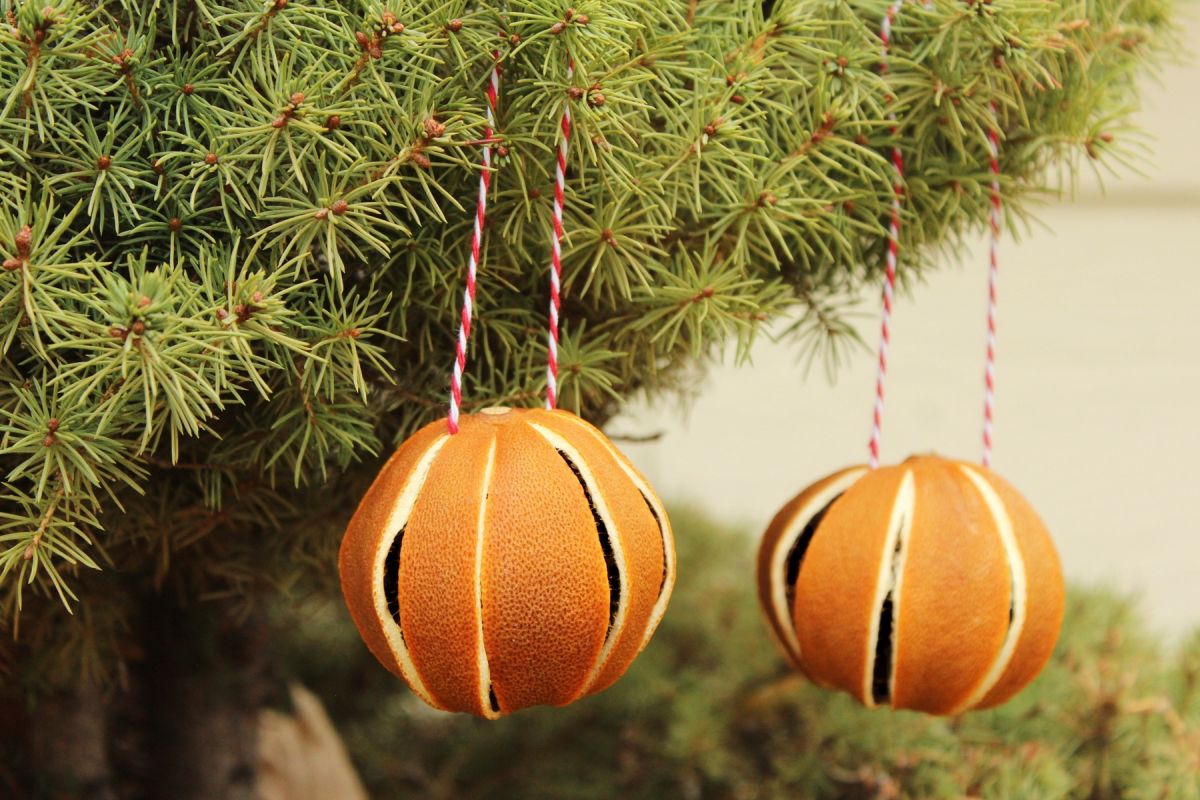
When hung from evergreen branches, the dried oranges resemble small, striped Christmas baubles. While they retain their round shape, their reduced weight makes them more suitable for hanging than fresh fruit.
Eight cuts through the rind, a low oven, and a piece of string. That is the method by which a whole orange is transformed into a Christmas tree ornament.
Image credits go to Homedit.com
The post Putting whole oranges in the oven after cutting the peel: why people recommend doing it and what it’s for appeared first on Homedit.





















































This is such a clever holiday craft! I love how the whole fruit keeps its shape while the cuts allow it to dry perfectly. The transformation from fresh orange to rustic ornament sounds absolutely beautiful and so much easier than carving discs. Thanks for sharing!
Thank you so much! I’m thrilled you find the technique clever. It really is a wonderful way to preserve the fruit’s natural shape while achieving that rustic look. I hope you enjoy making them this holiday season!