
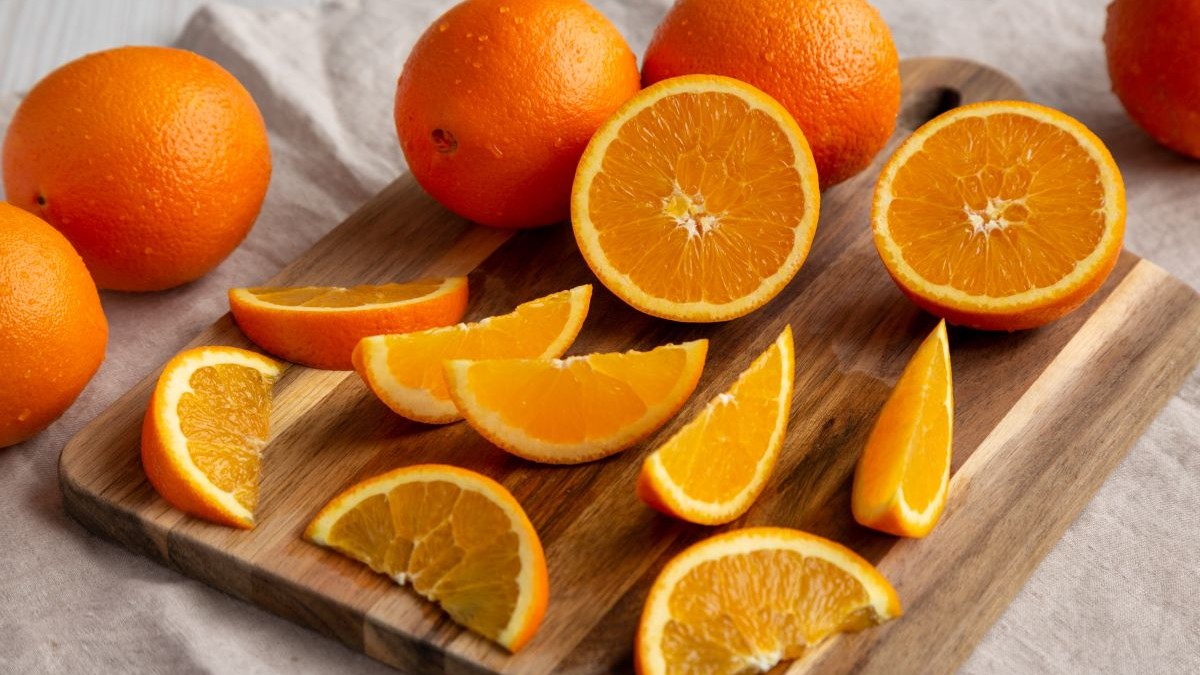
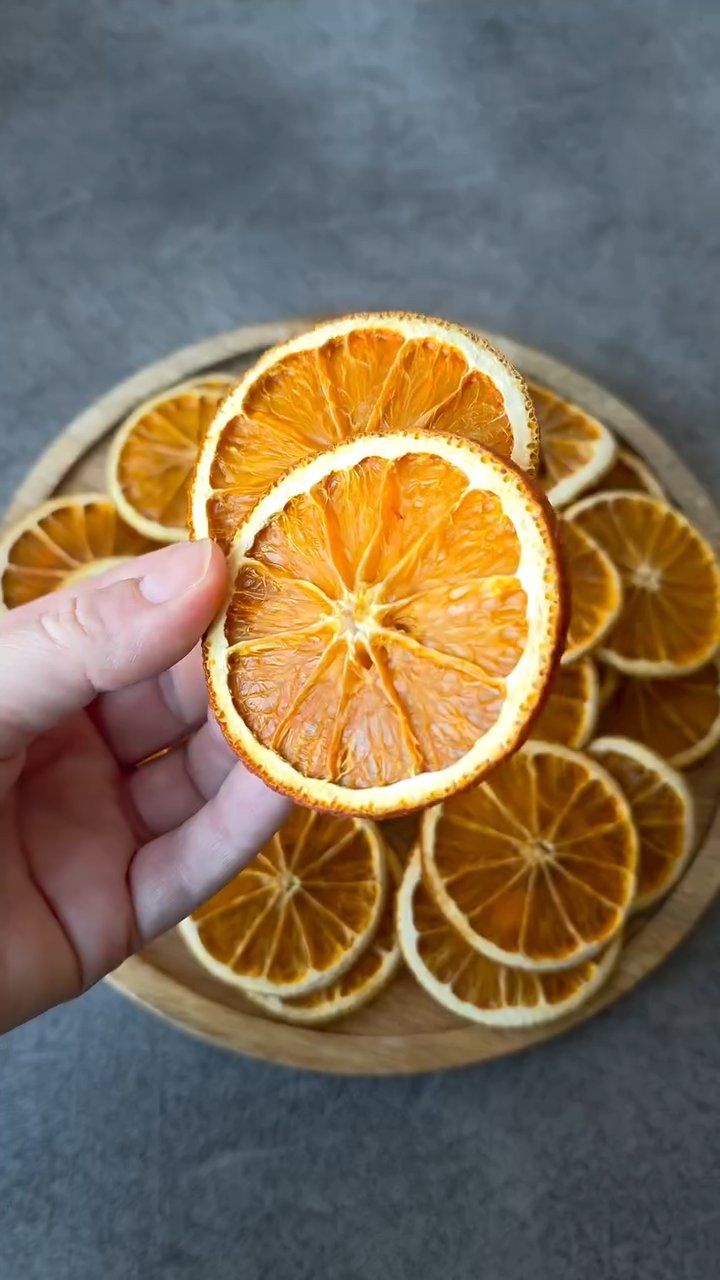
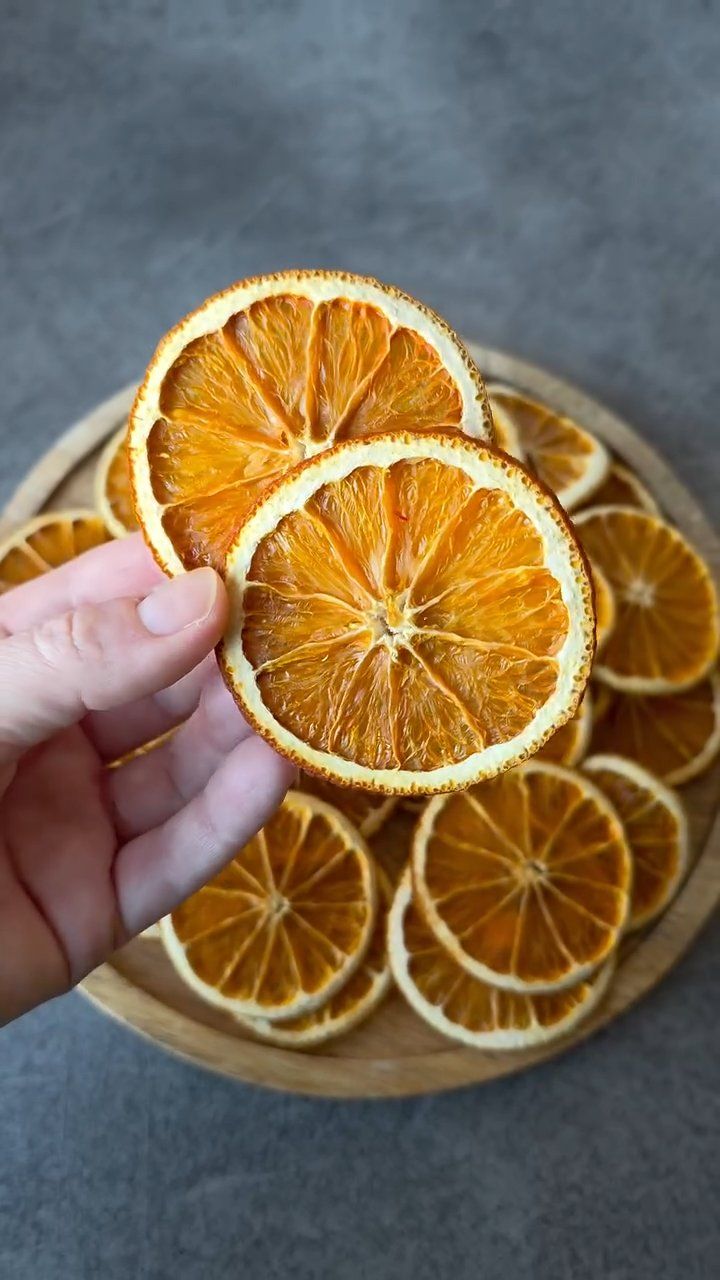
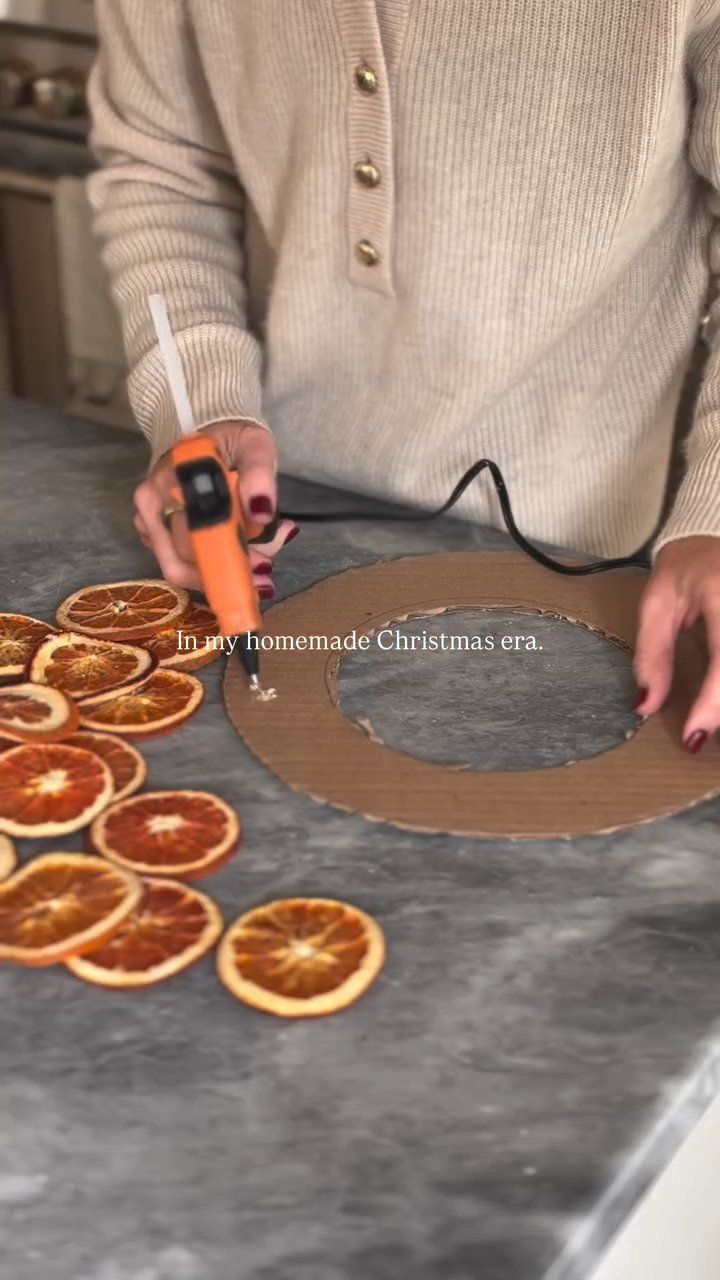
At first glance, three oranges, an oven, and a piece of cardboard do not seem like the typical ingredients for a Christmas wreath. However, once the fruit is sliced into thin rounds and dehydrated, the pieces become sturdy enough to be arranged into a circular ornament. As they dry, the centers of the oranges darken, while the lighter rings of the peel stay visible.
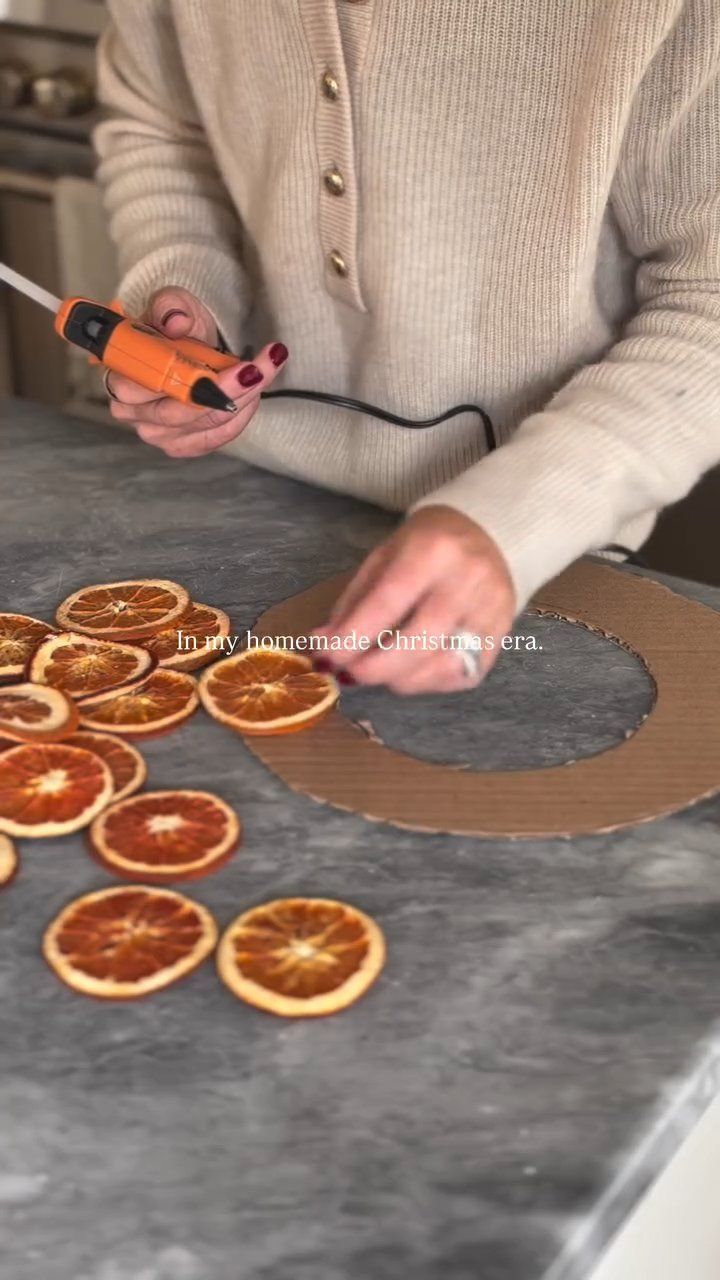
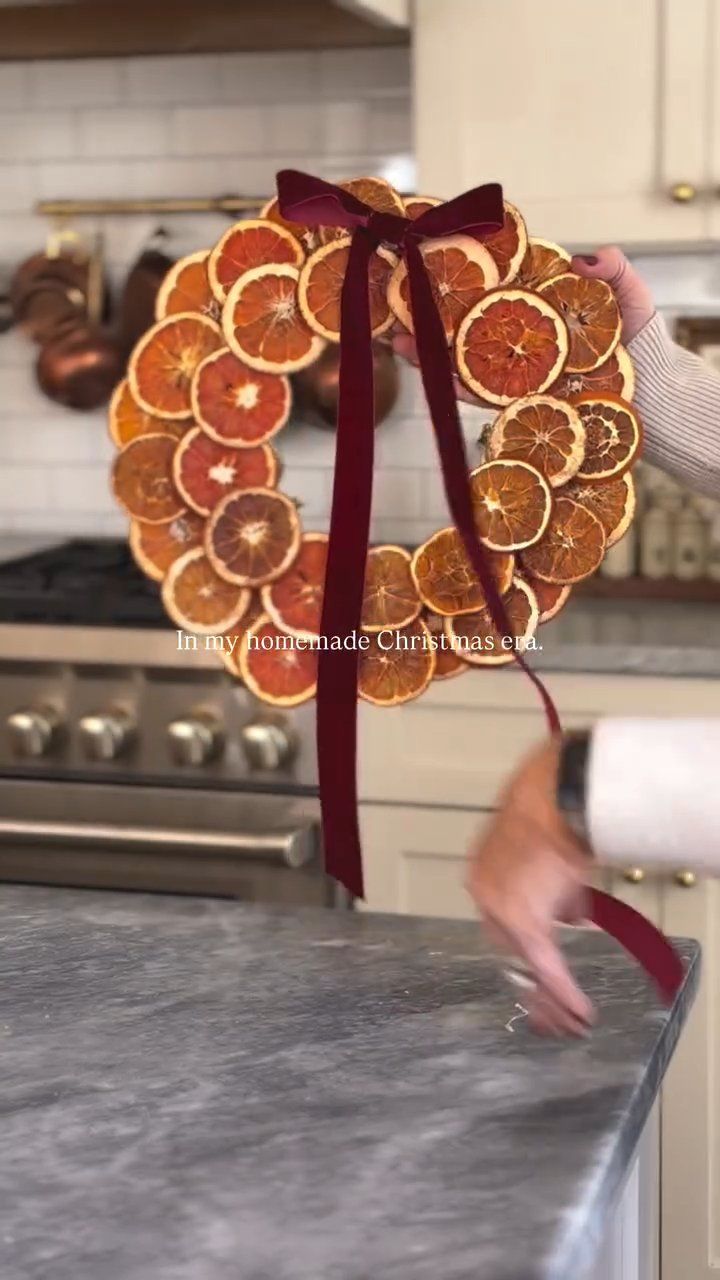
The base of the wreath is a cardboard ring cut from a discarded box. Dried orange slices are layered over this surface, completely hiding the cardboard underneath. A burgundy ribbon adds the final touch, eliminating the need for pine branches, fake greenery, or a pre-made wreath base.
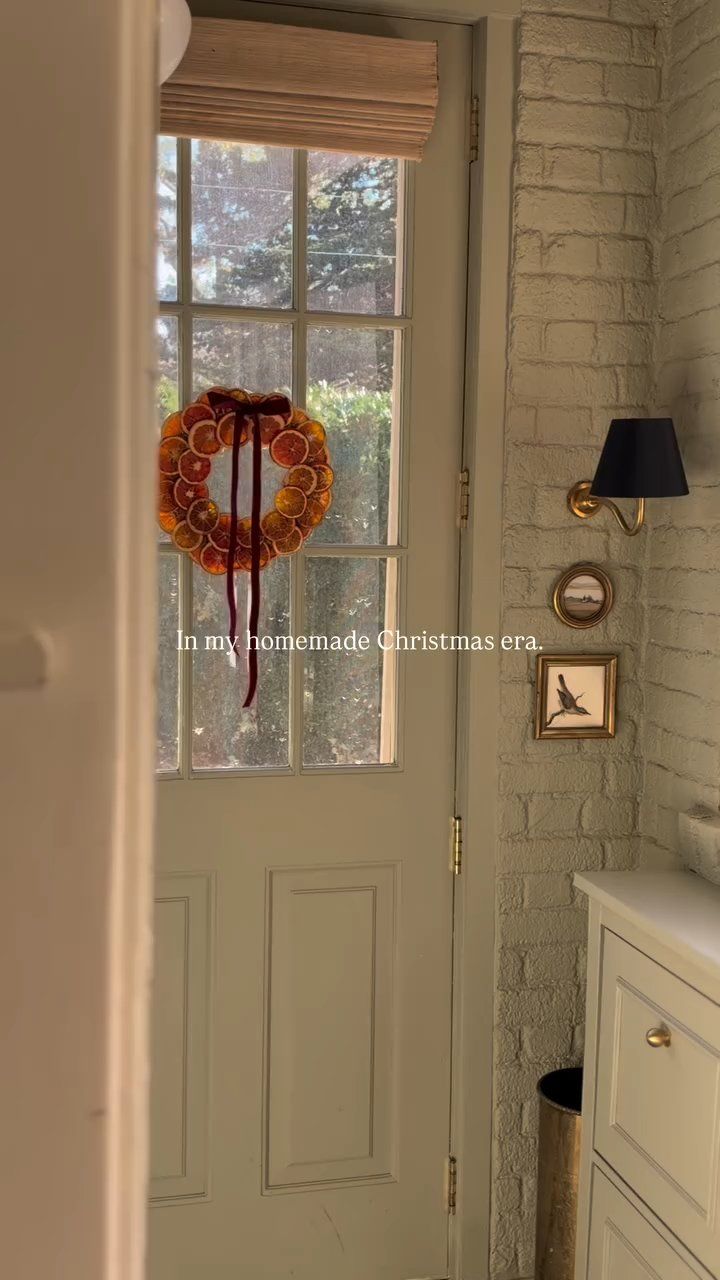
Two Instagram users documented the process of creating this decoration. @helleforhygge showed viewers how to dehydrate fresh oranges in an oven, and @sarahs.haven used those dried slices to craft a holiday wreath for her door with glass panels.
Three Fresh Oranges Become the Starting Material
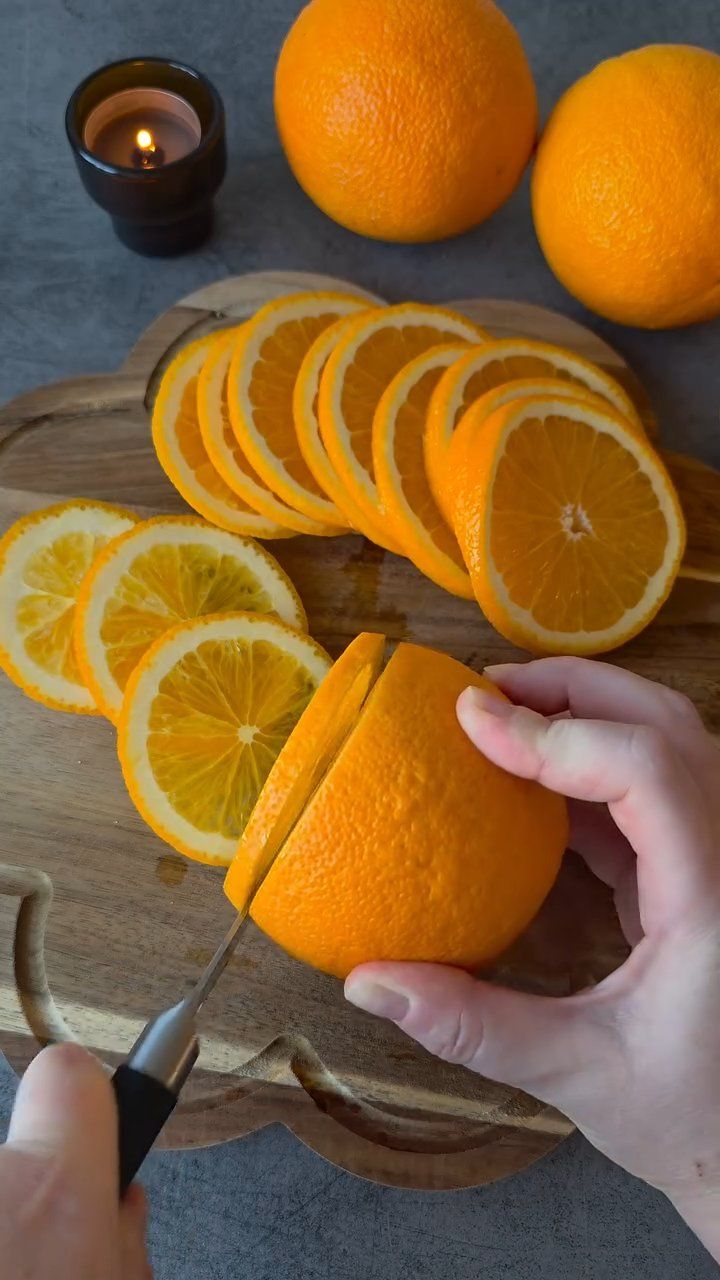
The process begins with the method shared by @helleforhygge, who started with three large oranges. She sliced them into thin rounds, ensuring the peel remained attached to maintain the circular form of each piece.
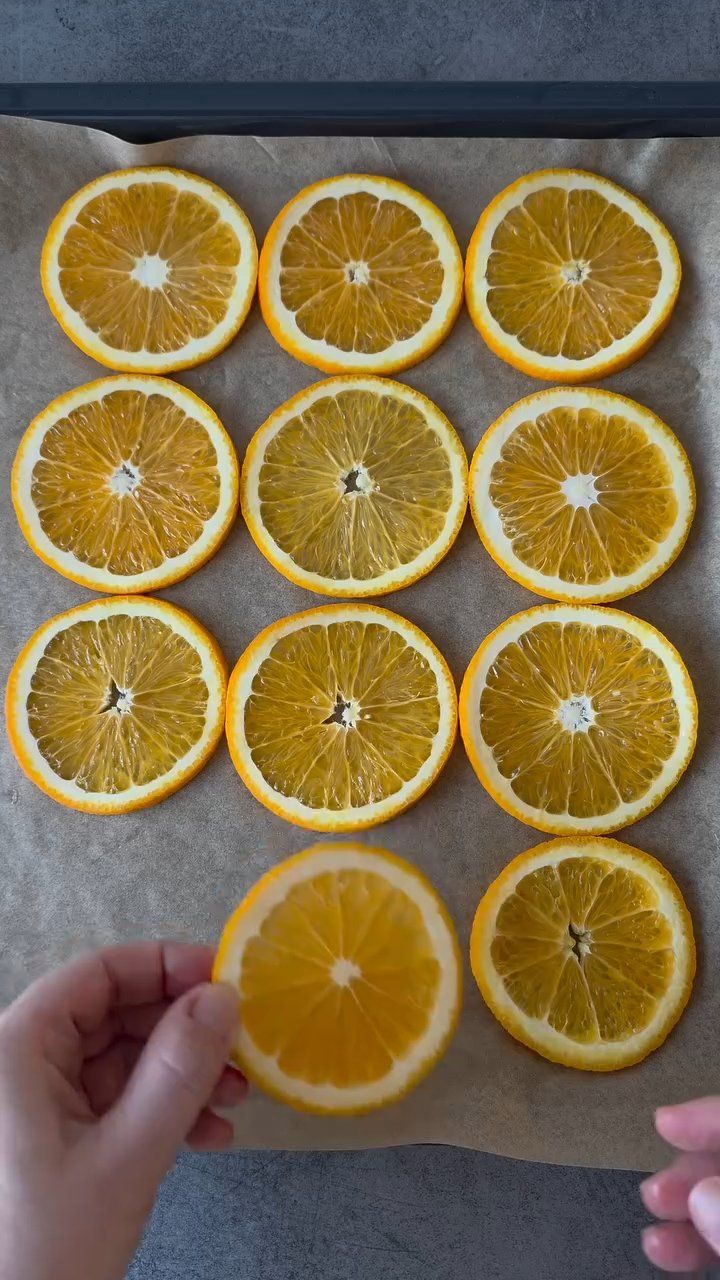
She arranged the slices on a baking sheet lined with parchment paper, ensuring there was enough space between each piece to allow air to circulate effectively during the drying process.
The Orange Slices Spend Three to Four Hours in the Oven
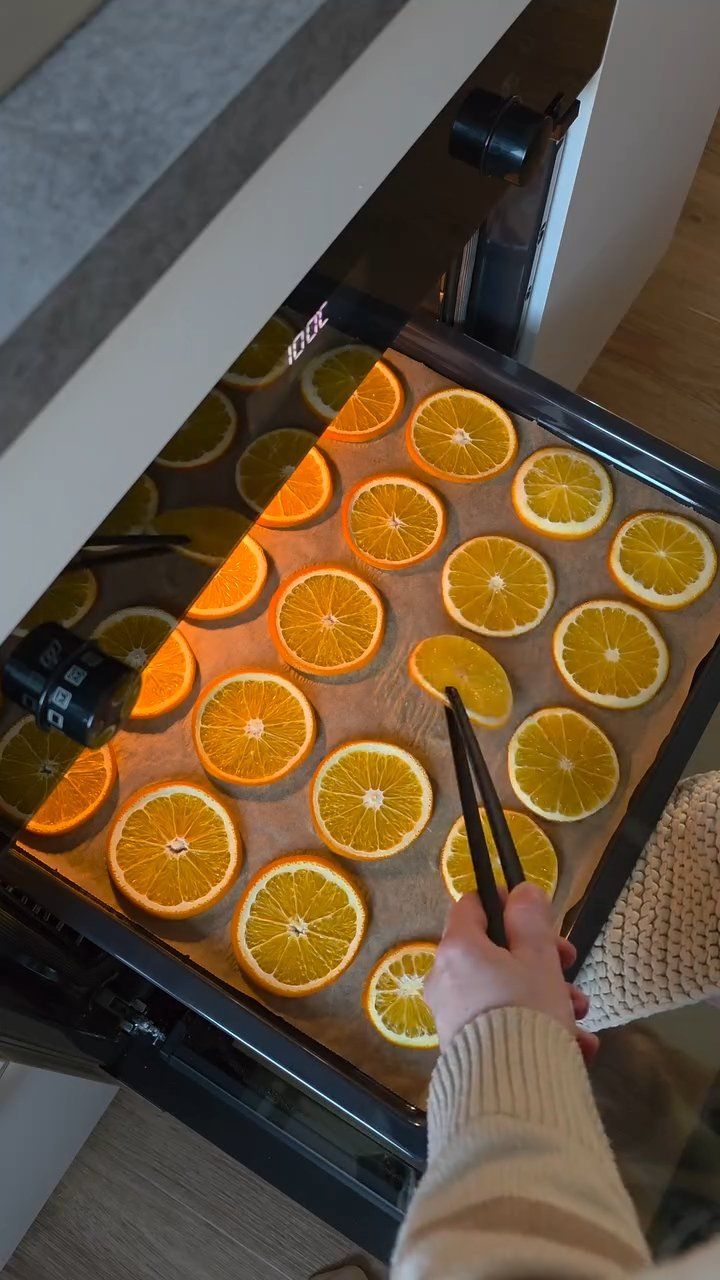
The creator set her oven to 100°C (212°F) and dehydrated the oranges for three to four hours. She rotated the slices once every hour and began checking them every 15 minutes as the process neared completion, since some pieces dried faster than others.
The slices were considered ready when their color had deepened and the texture felt dry instead of sticky. This process removed moisture while maintaining the natural segmented pattern of the fruit.
The final dried rounds feature amber centers surrounded by pale pith and orange peel. After cooling, these pieces can be utilized for wreaths, garlands, or various other holiday crafts.
A Cardboard Ring Replaces the Traditional Wreath Frame
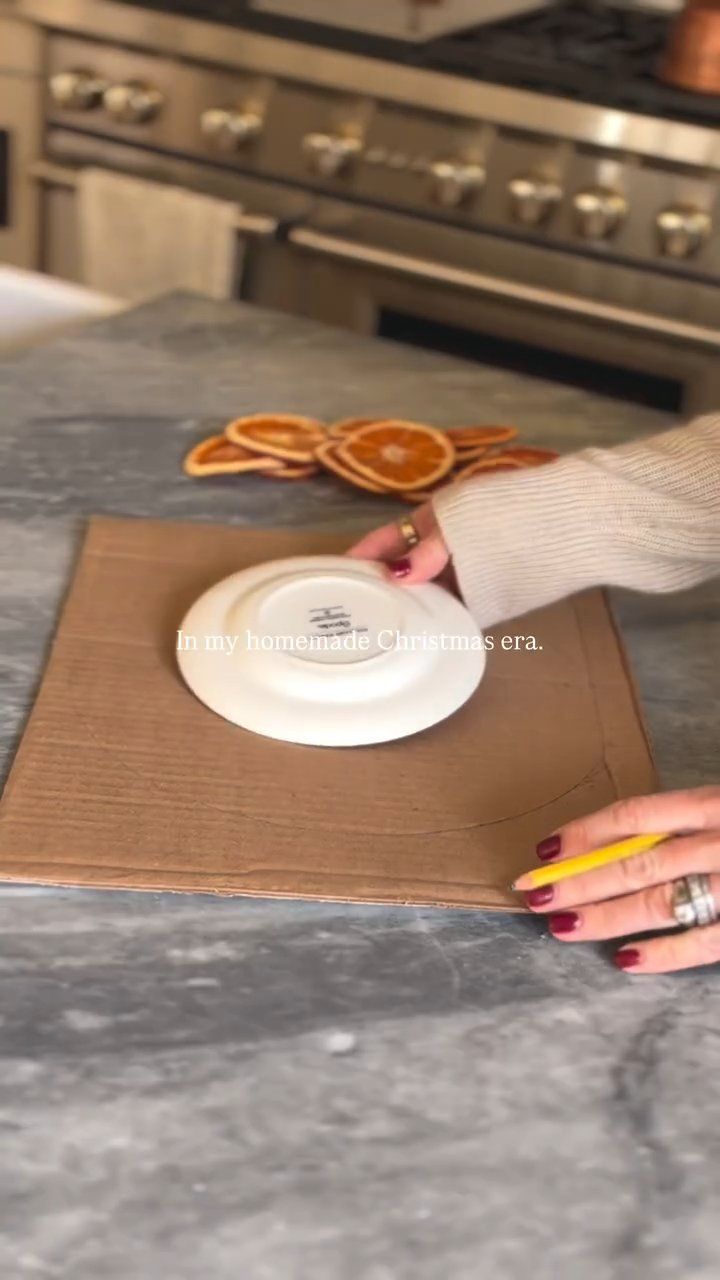
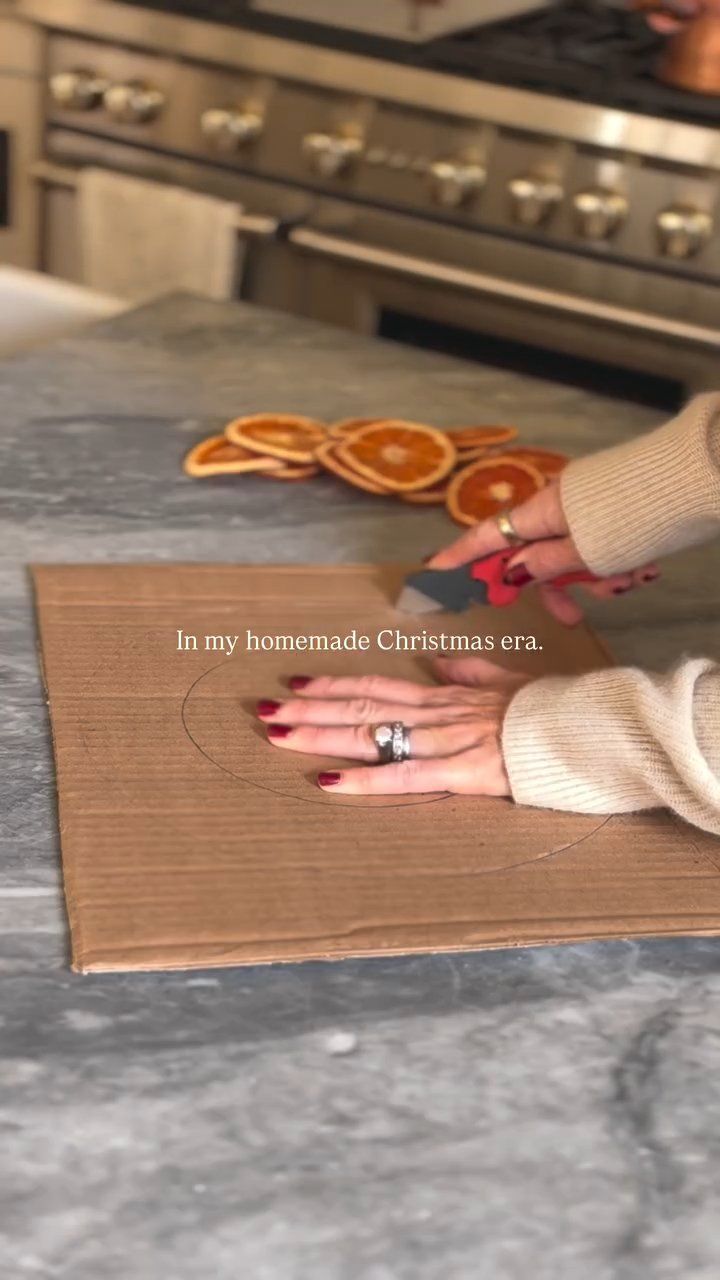
To build the wreath, @sarahs.haven began with a flat piece of cardboard. She placed a plate on the material and traced around it to mark the outer boundary of the circle.
A smaller circle was drawn inside the first outline, and both shapes were cut out to form a ring. This cardboard structure served as a flat foundation for attaching the dried fruit.
She Glued the Orange Slices Around the Cardboard
Once the ring was prepared, she used a hot glue gun to secure the dried slices. Each piece was placed to overlap the previous one, ensuring no gaps exposed the cardboard base.
The slices were arranged in overlapping rows around the entire ring, with varying shades of orange providing visual contrast. These natural color differences created the wreath's pattern without the need for paint or additional decorations.
A Burgundy Ribbon Finished the Christmas Wreath
A burgundy ribbon tied into a bow is positioned at the top of the wreath, with two long tails hanging down through the center. The dark fabric provides a striking contrast against the orange peel and dried fruit.
The completed wreath is hung on the glass section of a door, allowing daylight to filter through the dried orange slices. The cardboard frame stays concealed beneath the layer of fruit.
To ensure the decoration lasts longer, the slices must be completely dry before assembly and kept in a moisture-free environment. Any fruit that shows signs of mold should be thrown away.
According to Clemson University, orange slices that are about ⅛ inch thick may require three to five hours to dry in an oven. Another holiday custom involves boiling apples, orange peels, cinnamon, and vanilla to fill the house with seasonal aromas.
Would you make a Christmas wreath from dried oranges and cardboard, or choose a traditional evergreen wreath?
Orange-drying tutorial: @helleforhygge. Wreath project: @sarahs.haven.
The post She Glued Dried Orange Slices to Cardboard and Turned It Into a Christmas Door Wreath appeared first on Homedit.




















































I love how we’ve replaced centuries of pine tradition with a cardboard disk and dried fruit. Truly, nothing says “festive holiday spirit” quite like peeling an orange for twenty minutes just to glue it to trash.
Haha, you nailed it! It’s definitely a modern twist on tradition. While pine has its place, there is something oddly satisfying about turning kitchen scraps into festive decor. Thanks for the laugh!