
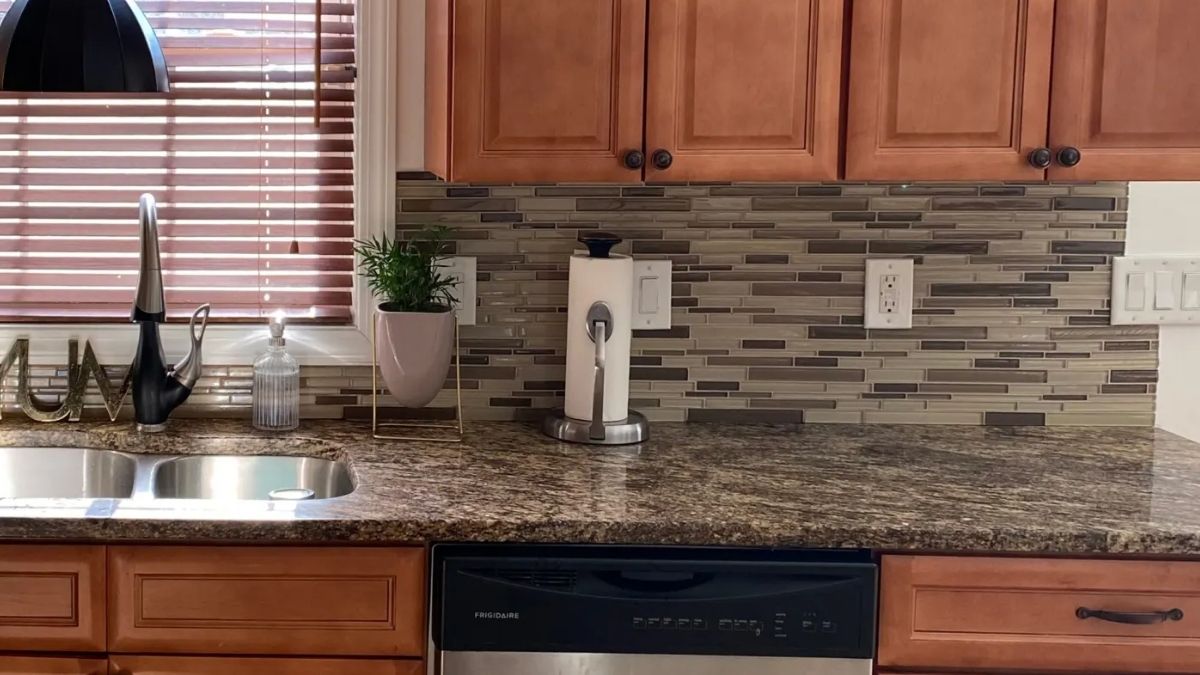
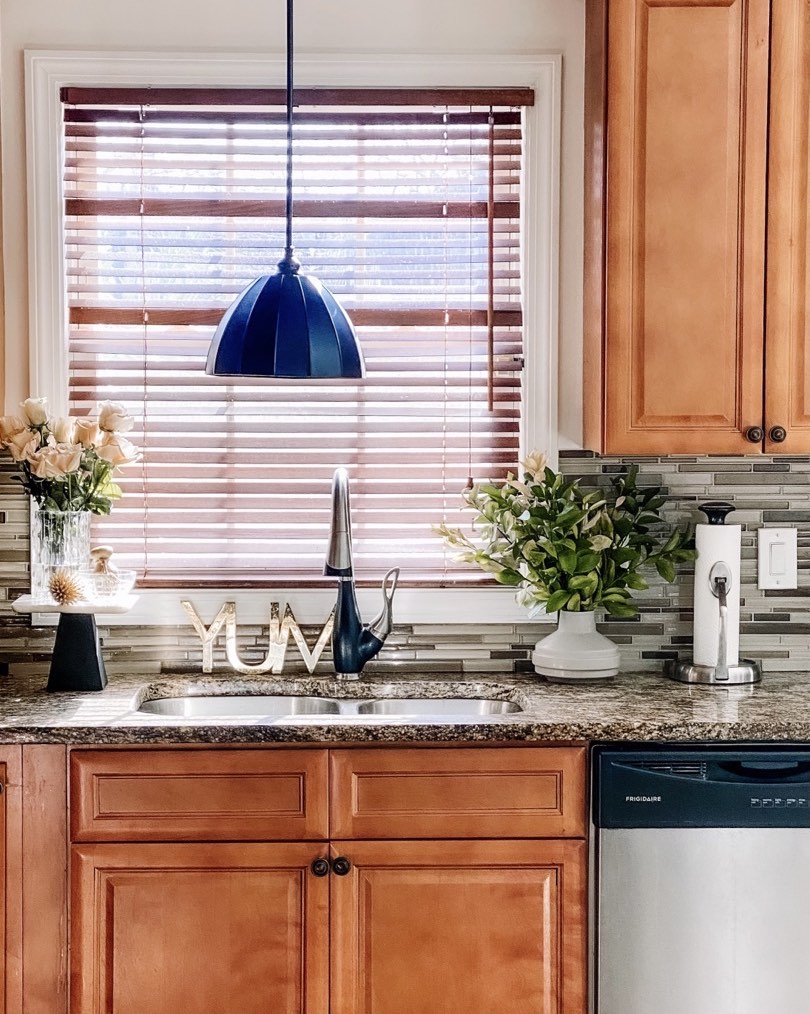
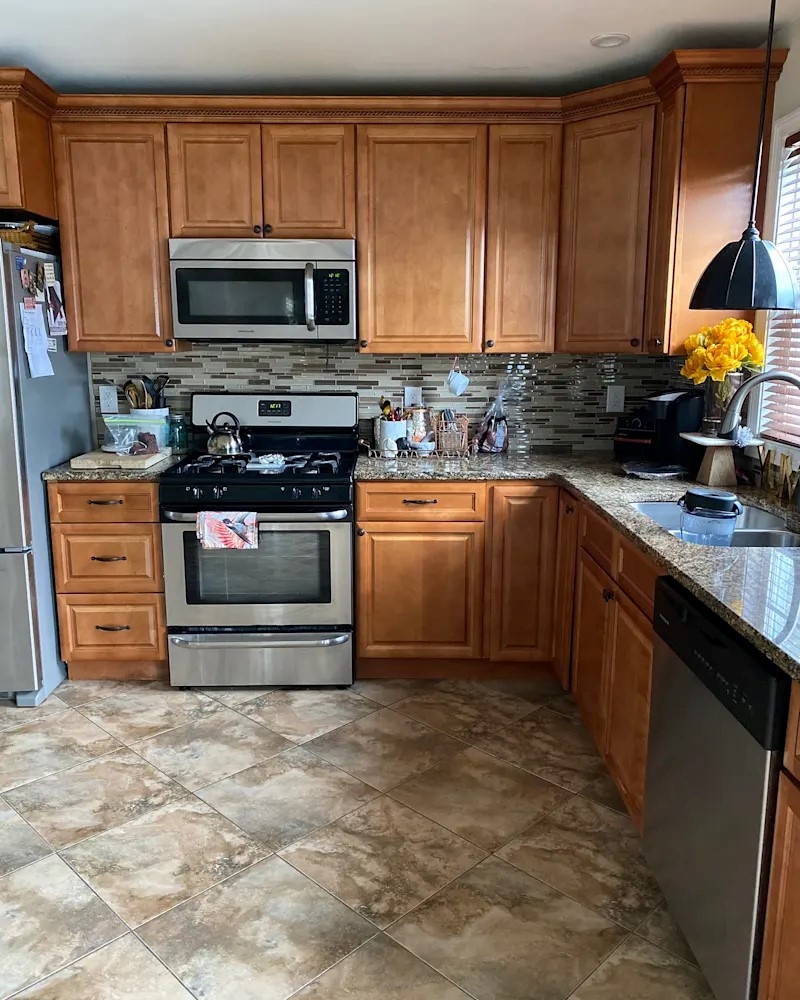
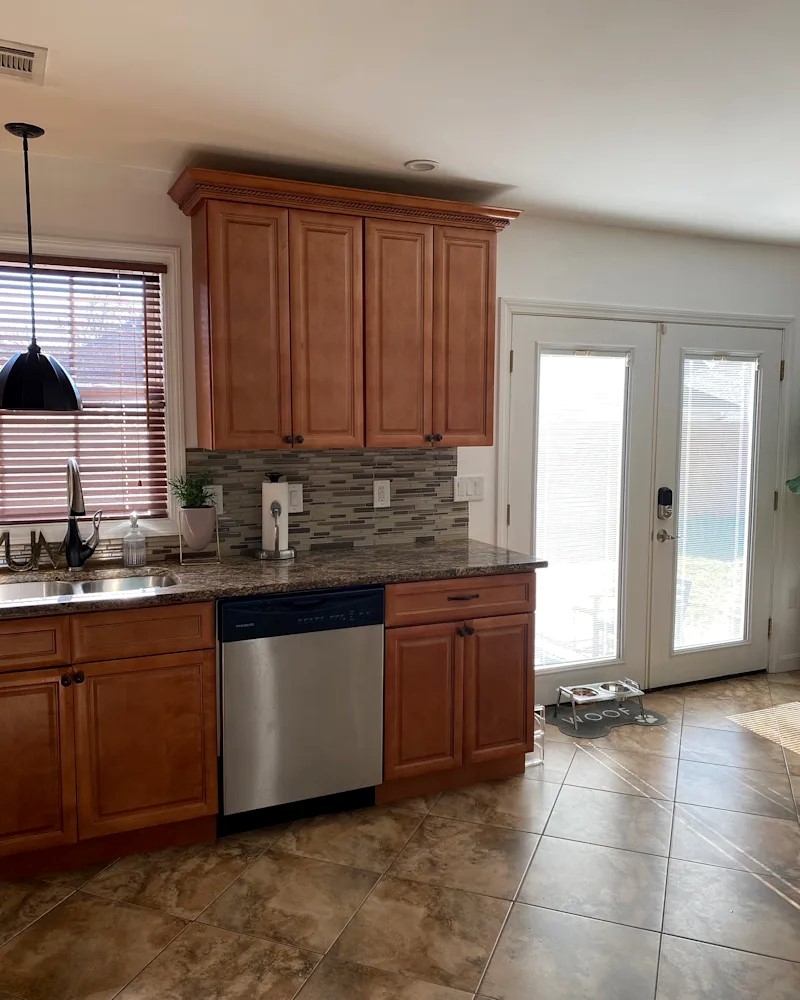
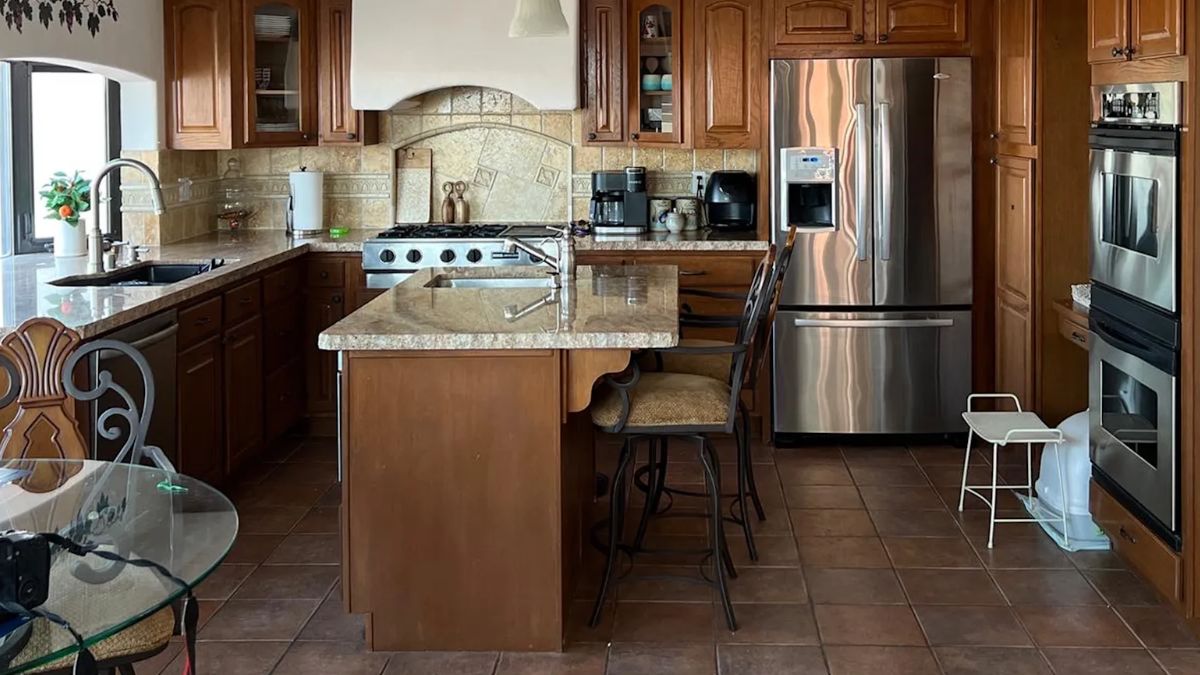
The countertops are solid, heavy, and in perfect condition, which is precisely what makes the situation frustrating. With dark brown granite, a matching dark brown tile backsplash, and brown oak cabinets, the entire kitchen absorbs the light. Homeowners are reluctant to pay for the removal of stone that is not damaged.
The issue with the granite was not its material but its color. Tiffany Brown-Barino, who documents her projects under the handle @myeclecticnest, faced a kitchen with this exact configuration. "I definitely didn’t like how dark they were and how dark they made the kitchen feel," she says. Rather than removing the stone, she chose to paint it.
Why dark granite made the whole kitchen feel dark ?
Countertops represent the largest flat surface area in a kitchen, directly receiving light from both windows and ceiling fixtures. When these surfaces are dark brown and positioned between brown cabinets and brown tile, there is very little left to reflect light back into the room.
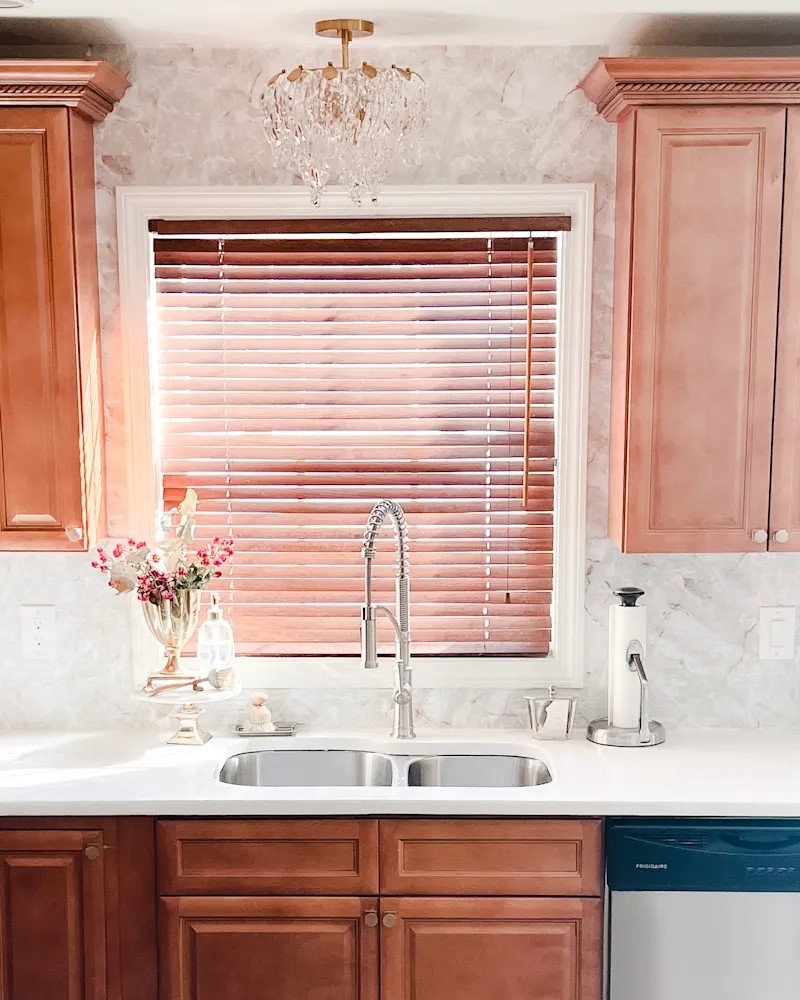
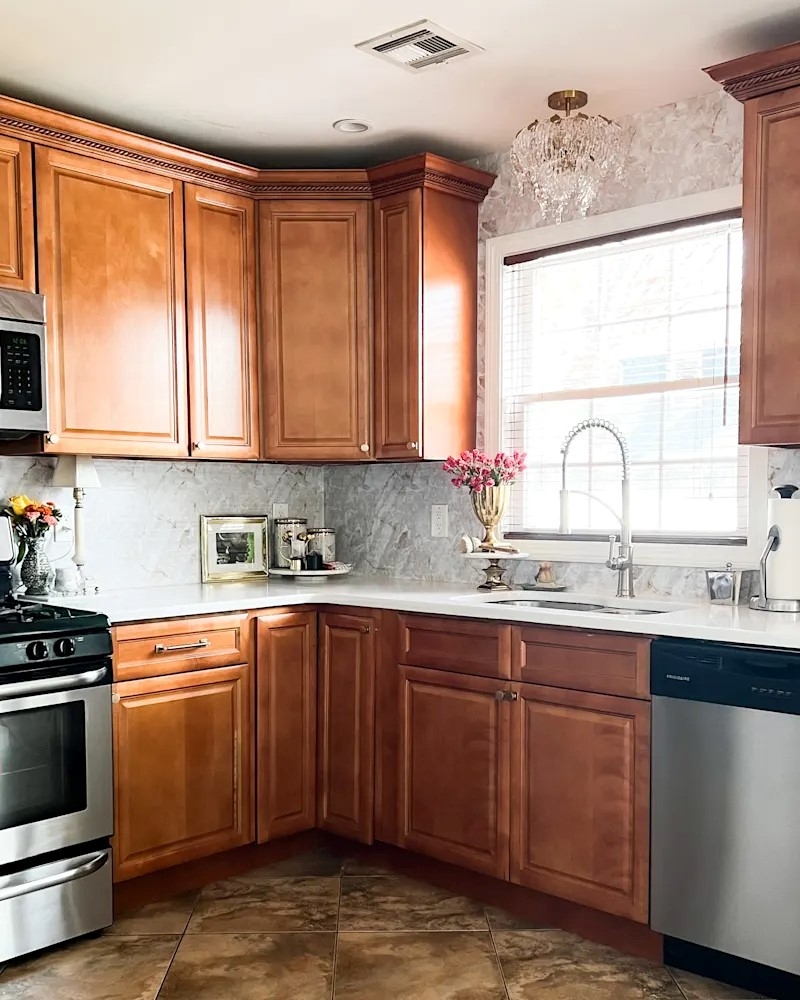
Tiffany applied white Rust-Oleum epoxy paint, which she notes costs less than $30 per quart. "All of the brown granite was painted white, and it really resembles a white quartz which is really pretty," she says. She retained her 90s-era oak cabinets and stainless steel appliances, while adding champagne bronze hardware, a brass and glass chandelier, and a new faucet.
This method of covering counters rather than removing them also works on laminate. A thin, concrete-based coating applied in layers and sealed can transform beige laminate into a surface resembling new concrete.
The countertop paint job, step by step
Clean and scuff. According to the data sheet for the white Rust-Oleum Appliance Epoxy, the surface should be cleaned with soap and water, rinsed, allowed to dry, and lightly sanded if glossy. The sheet does not recommend using a primer.
Pick the right day. The instructions specify temperatures between 50°F and 90°F with humidity below 85%.
Work fast between layers. Tiffany discovered that the layers needed to be applied quickly, one after another, to prevent uneven drying or bubbling. This aligns with the sheet, which states to recoat within 1 hour or after 24 hours.
Give it time. The sheet indicates 2 to 4 hours to dry to the touch, 5 to 9 hours to handle, and 24 hours to dry completely.
Change the wall behind it. She initially planned to paint the brown tile but opted for a peel-and-stick faux stone instead. "It’s peel-and-stick, so very low-commitment but high return on style!" she wrote on her blog.
Plan B, if paint on stone feels too permanent: start with the backsplash. This is the wall against which your dark counters sit, and peel-and-stick options can be removed if you change your mind.
Where this paint job has its limits
Be clear about what this product is. Rust-Oleum states that this epoxy is formulated for indoor metal surfaces, such as the exterior of refrigerators and dishwashers, rather than for countertops. It is not designed for surfaces that exceed 200°F or for continuous water immersion, so hot pans should be placed on trivets and standing water around the sink should be wiped up.
The data sheet does not address food contact. Use a cutting board and avoid food preparation directly on the painted surface.
Ventilation matters too. The sheet advises thinning the product only with mineral spirits or acetone, so keep it away from open flames. For paints and solvents that release fumes indoors, the Minnesota Department of Health recommends opening doors and windows and using fans to introduce outside air.
Paint on stone is also difficult to reverse. If you plan to sell soon or prefer the appearance of real stone, test a hidden corner before committing to painting the entire kitchen.
Keep the stone, change its color, and treat the new surface gently. That’s the trick.
The post Instead of replacing the brown granite, she painted it white and now it looks like quartz appeared first on Homedit.















What specific primer ensures the epoxy adheres best to polished granite? I’m curious if sanding is strictly necessary for that smooth, quartz-like finish, or if the paint chemistry handles it alone?
I used a bonding primer specifically designed for glossy surfaces, which made sanding less critical but still recommended for optimal grip. While the paint chemistry helps, light sanding ensures that smooth, durable quartz-like finish by creating a perfect mechanical bond for the epoxy.